Log in
Search
Latest topics
» Dodge Viper - What a waste but brilliant marketingby roddie Today at 6:46 pm
» COX .020 POWERED SPEEDSTER
by TD ABUSER Today at 6:32 pm
» **VOTE-ON-THE-NEXT-COX-ENGINE-OF-THE-MONTH** (November 2024)
by roddie Today at 6:13 pm
» Brushless motors?
by rsv1cox Today at 4:53 pm
» Free Flight Radio Assist
by rdw777 Today at 4:28 pm
» Cox 020 PeeWee rebuild questions
by balogh Today at 4:15 pm
» L4 Grasshopper
by latole Today at 3:43 pm
» PAW 80 and possible use
by fit90 Today at 8:36 am
» Music-wire bending tools (DIY video)
by 1975 control line guy Today at 8:32 am
» Ultrasonic Cleaners??
by sosam117 Yesterday at 11:26 am
» My CA or CyA (super glue) allergy
by rsv1cox Yesterday at 9:52 am
» My Pseudo killerbee.
by rsv1cox Yesterday at 7:04 am
Venturi without mesh screen (installation) --- Enya Rear Induction engines too!
Page 1 of 1
 Venturi without mesh screen (installation) --- Enya Rear Induction engines too!
Hello Cox Forum Members,
Have you ever ordered a Tee Dee venturi and there is a groove for the mesh screen but there is no screen?
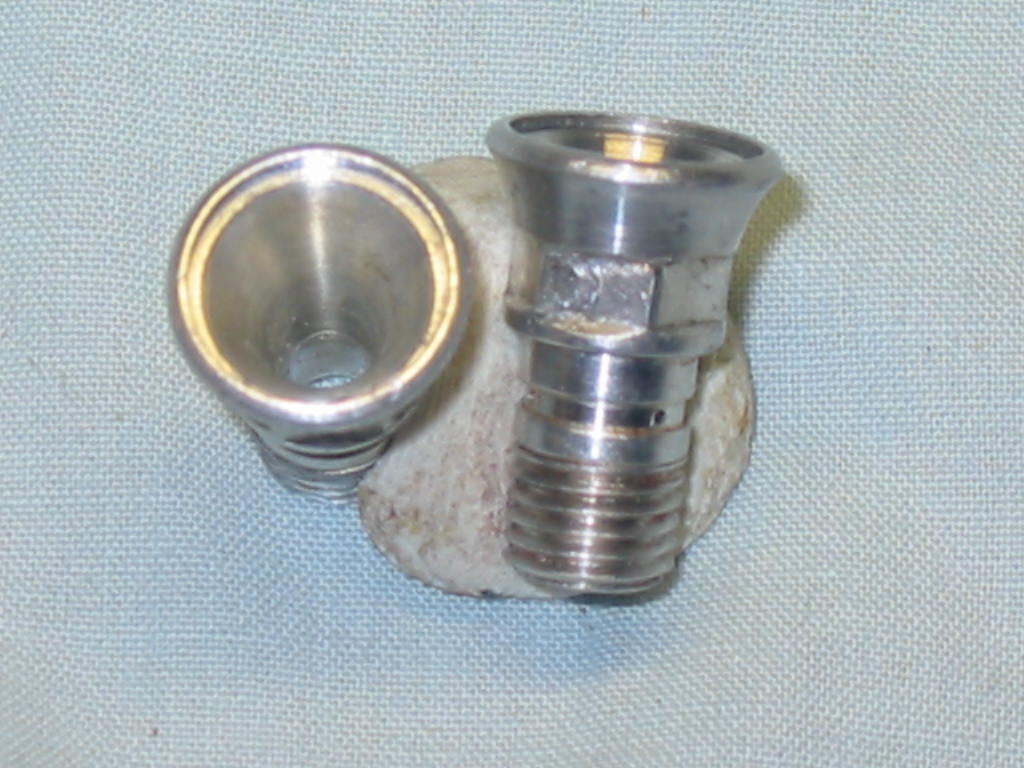
Well, I decided I was tired of venturi without screens and did something about it.
Below is what it took to get screens on all of my Tee Dees that the venturi with the mesh screen groove but didn’t have the screens installed.
1st thing was to get the correct mesh screen count that Cox used. Cox used a 60-mesh count screen. I did this by carefully measuring the one venturi I had that had a mesh screen installed. Then I went on-line to get a mesh screen that was the same count (per inch).
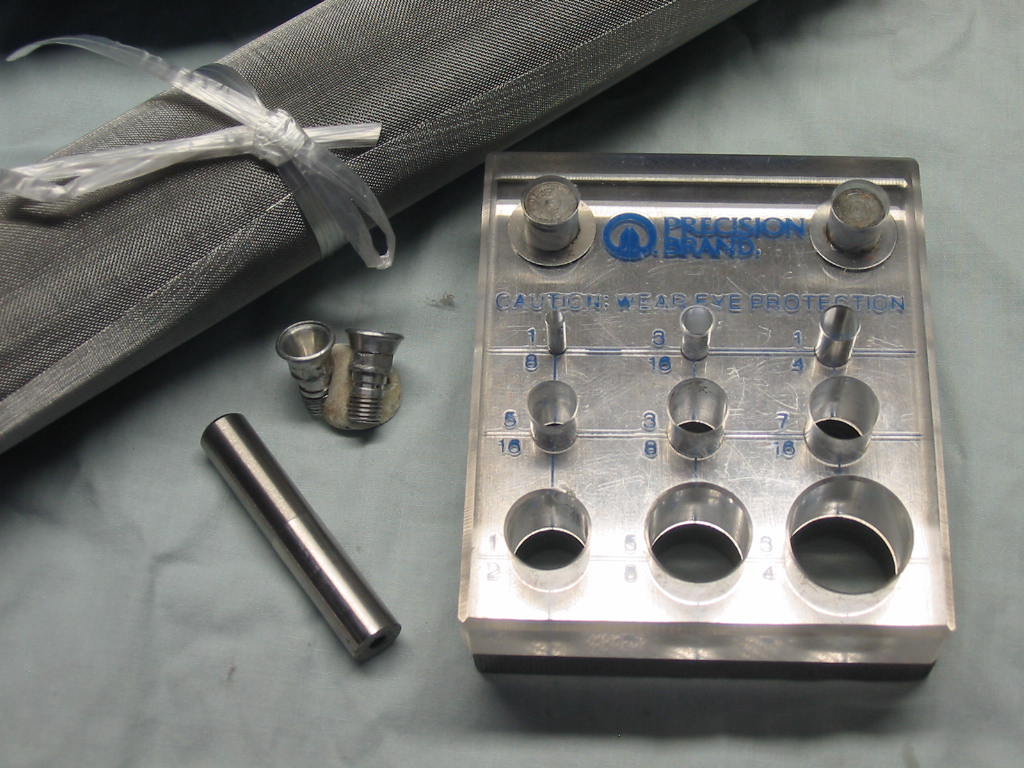
Next was to figure out the diameter size needed to fit the venturi correctly (into the groove).
I found out the 3/8” diameter was the correct size (after many trials of sizes: inch and metric).

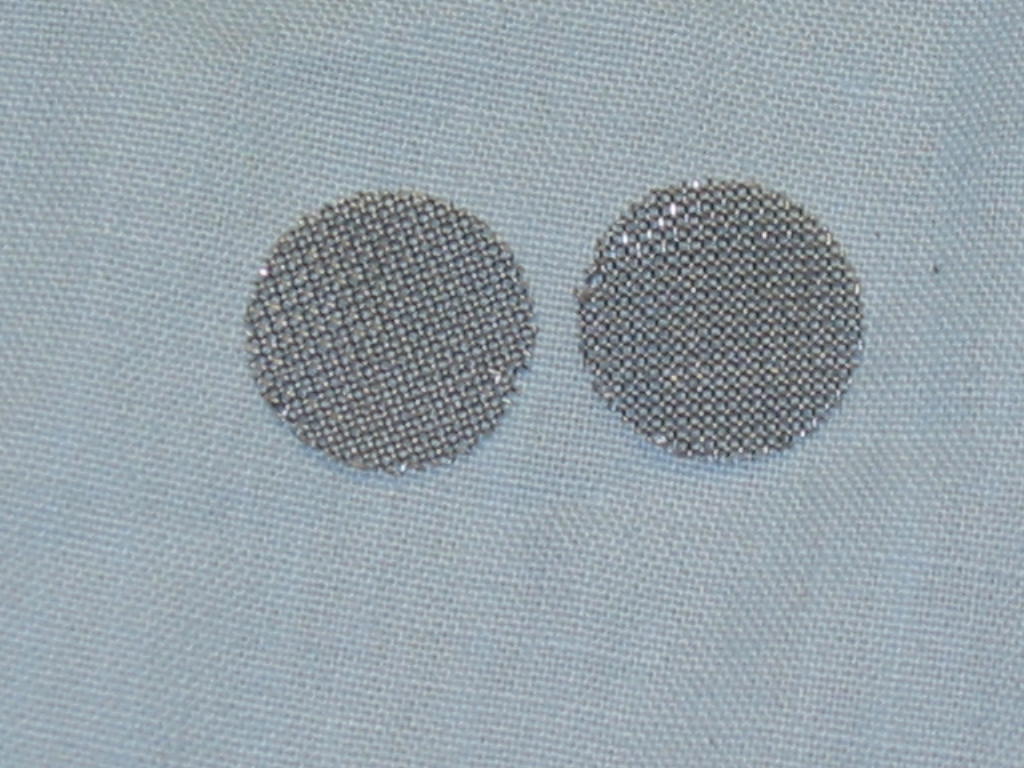
After I punched out the screen to 3/8 dia., I rolled the screen over a 5/16 ball to make it domes shape to insert the screen into the groove into the venturi.
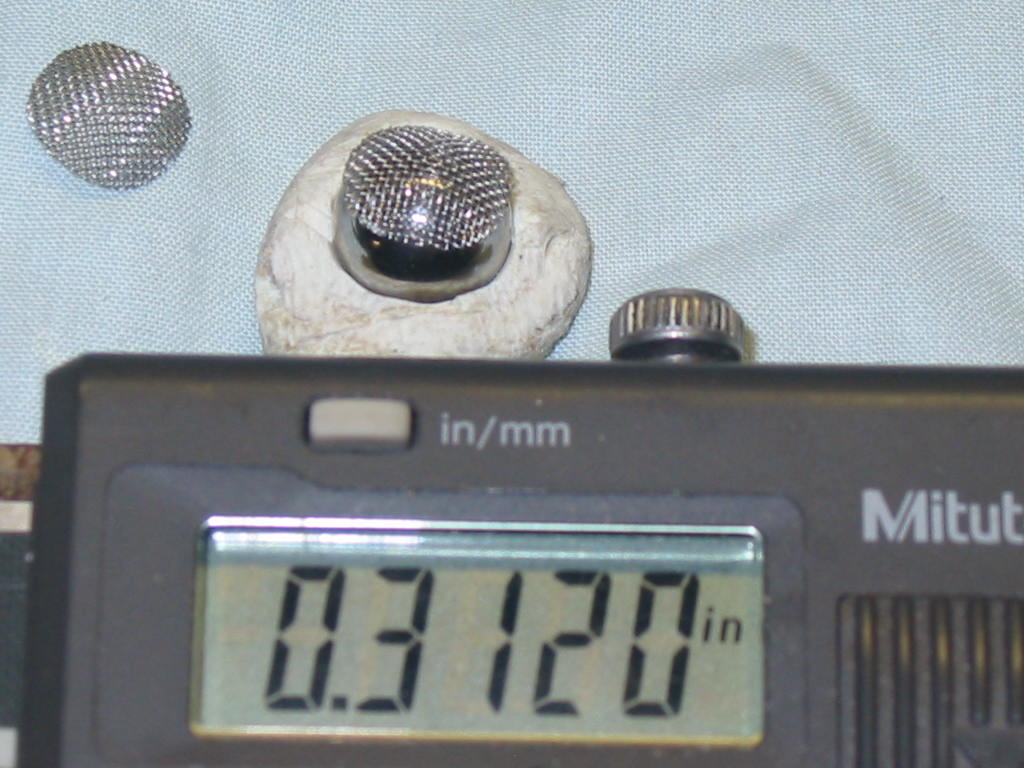
Next was to make sure that all of the screen was in the groove.
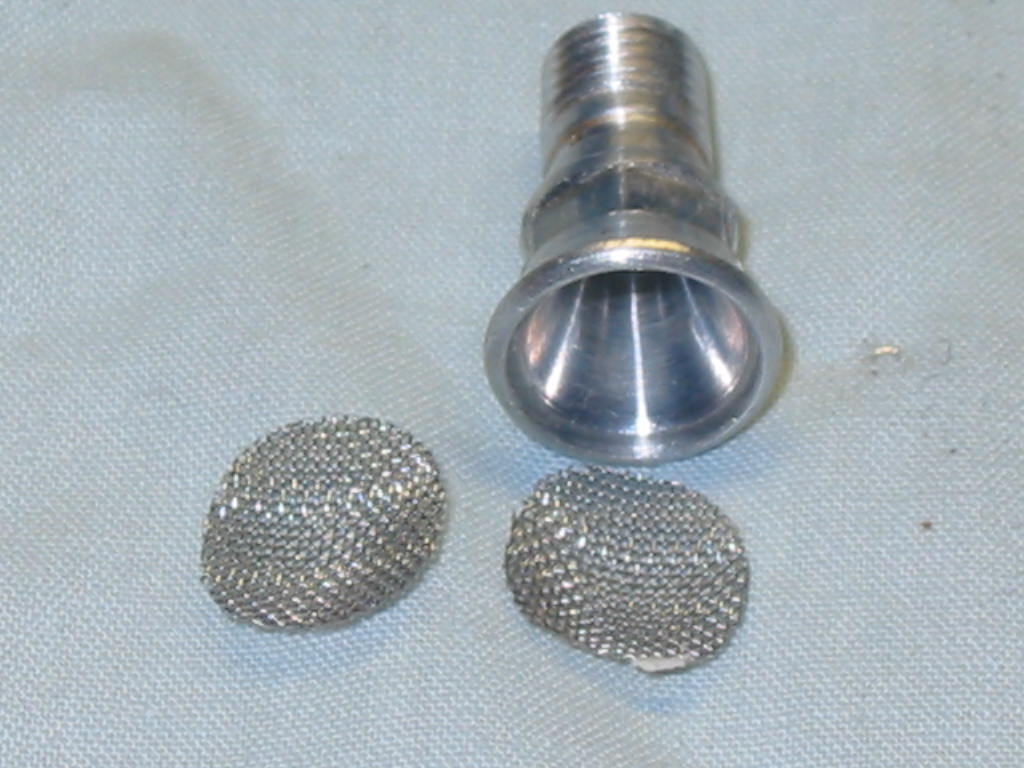

The next step was to use a ruler and flatten the screen down to seat it into the groove into the venturi.
I used a metal 6 inch ruler to flatten the screen.

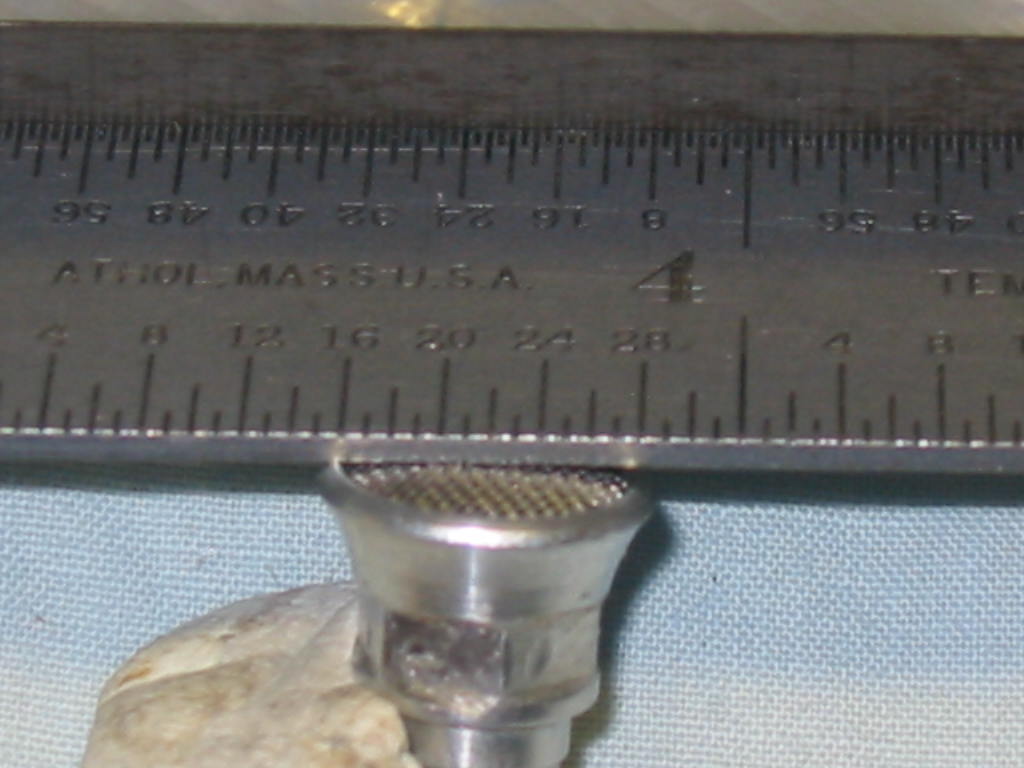
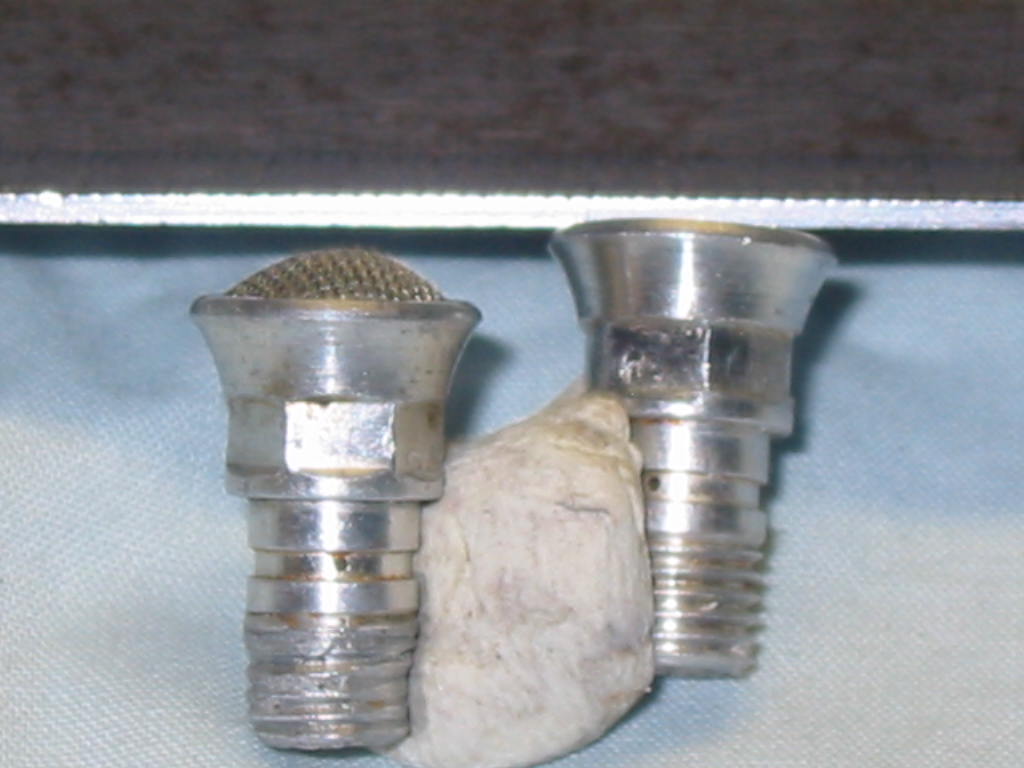
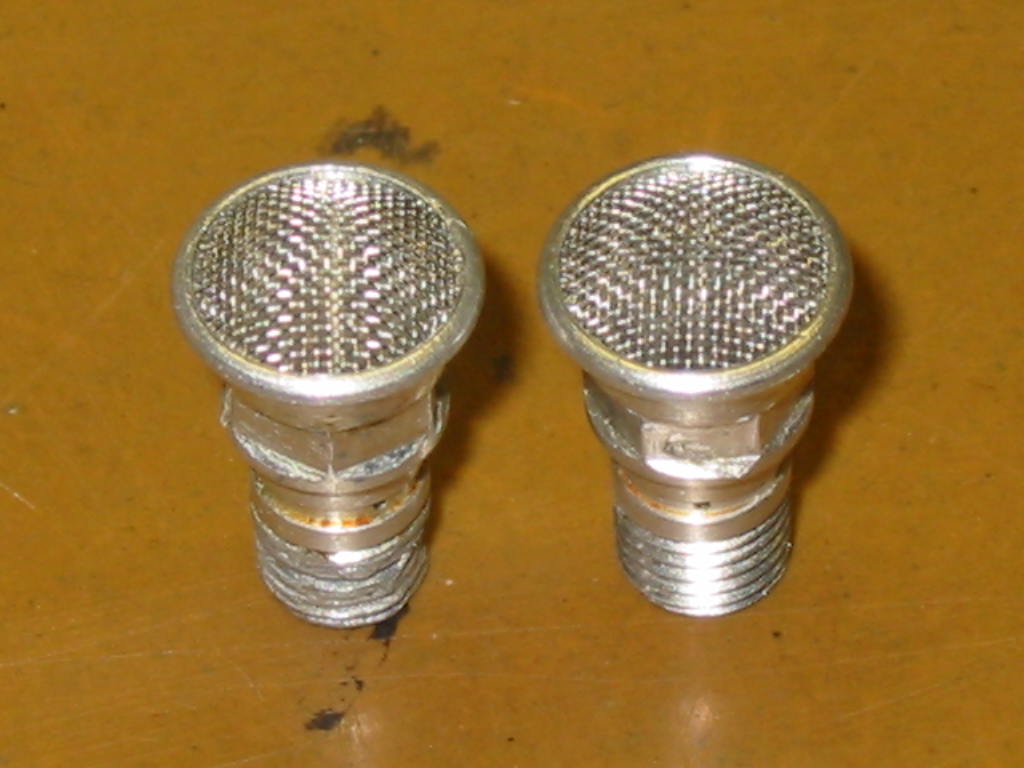
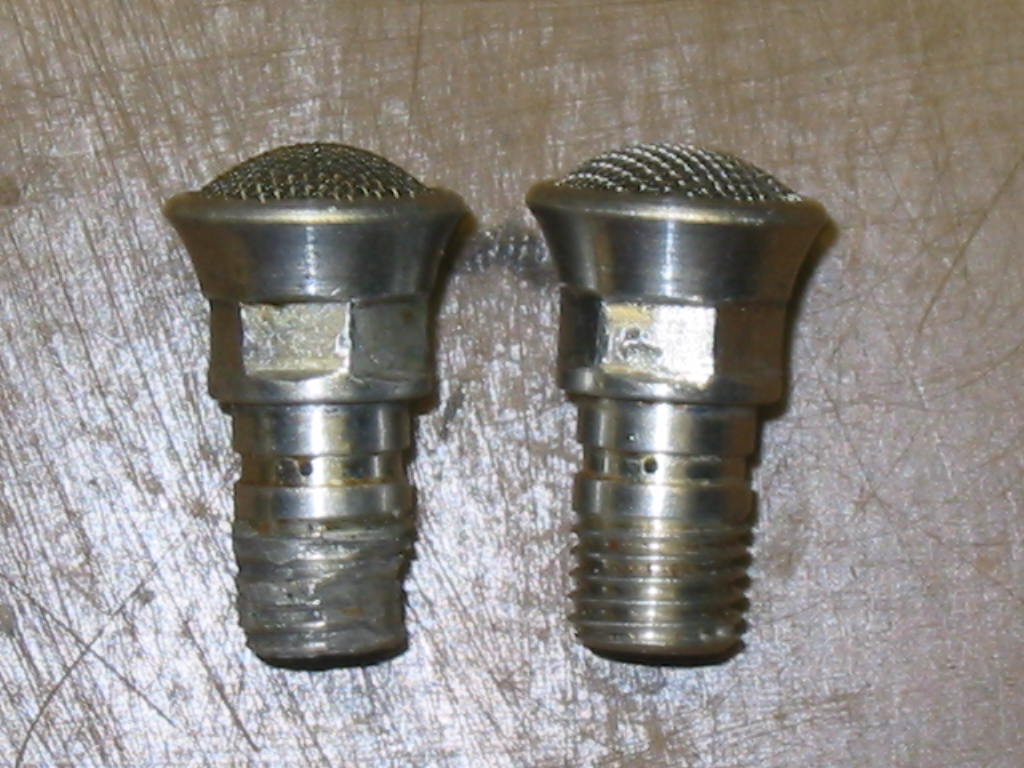
Photo of before and after the screen mesh flattening is below:
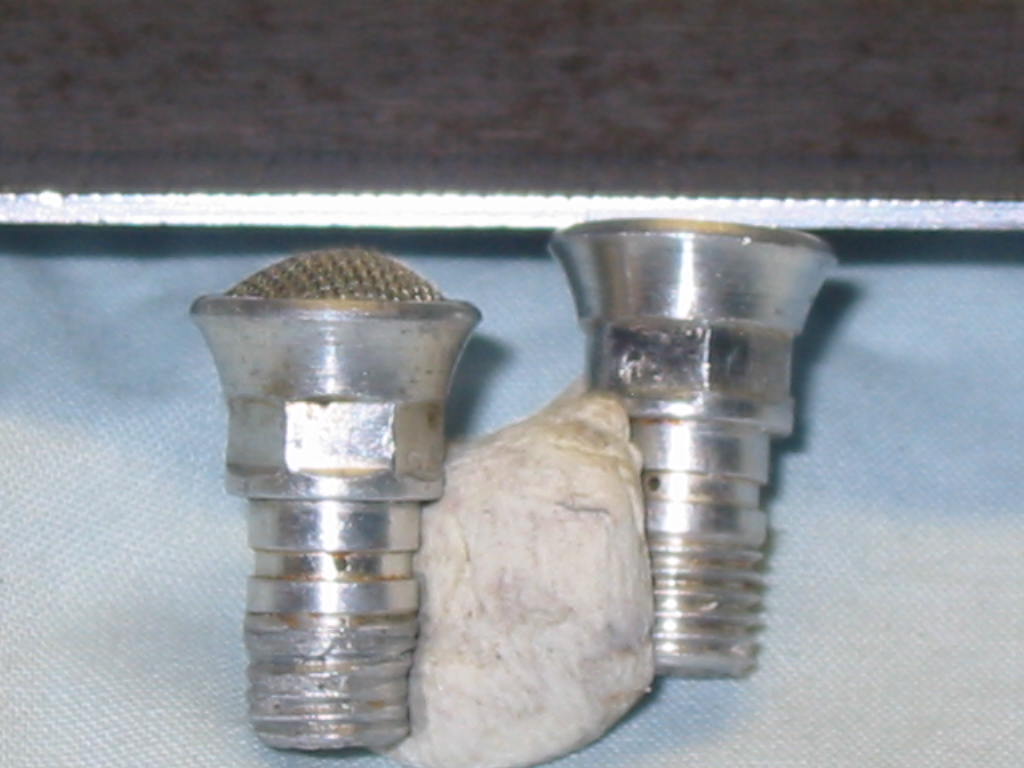
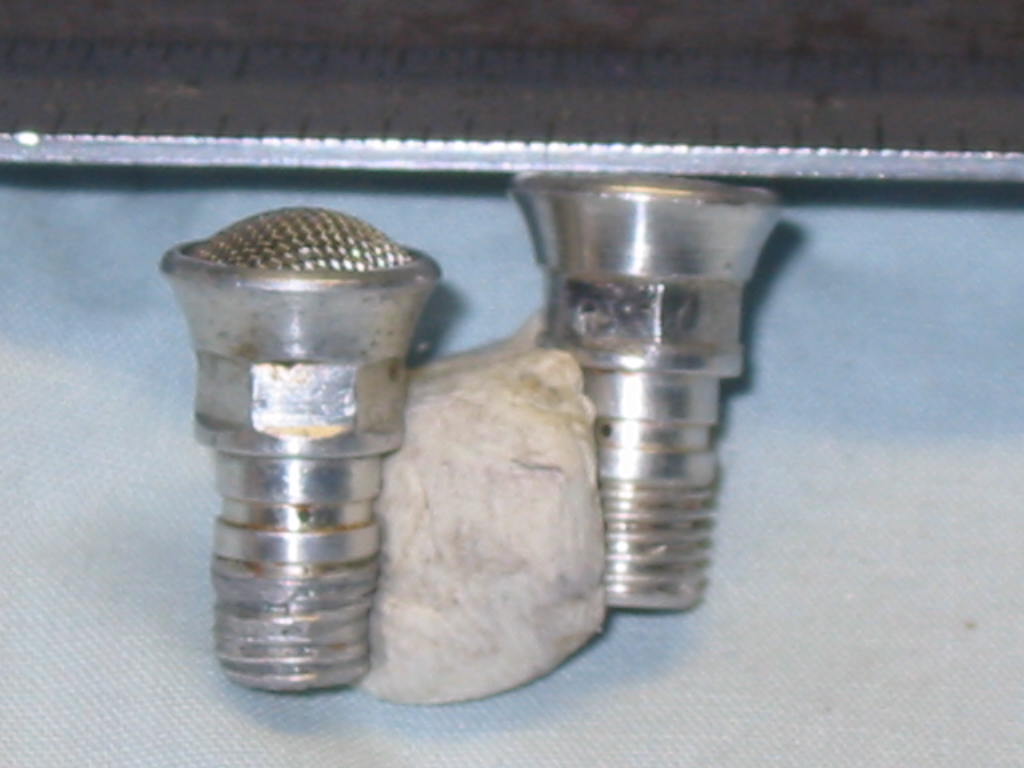
And that is it! A Cox Tee Dee venturi with the mesh screen installed in the venturi.
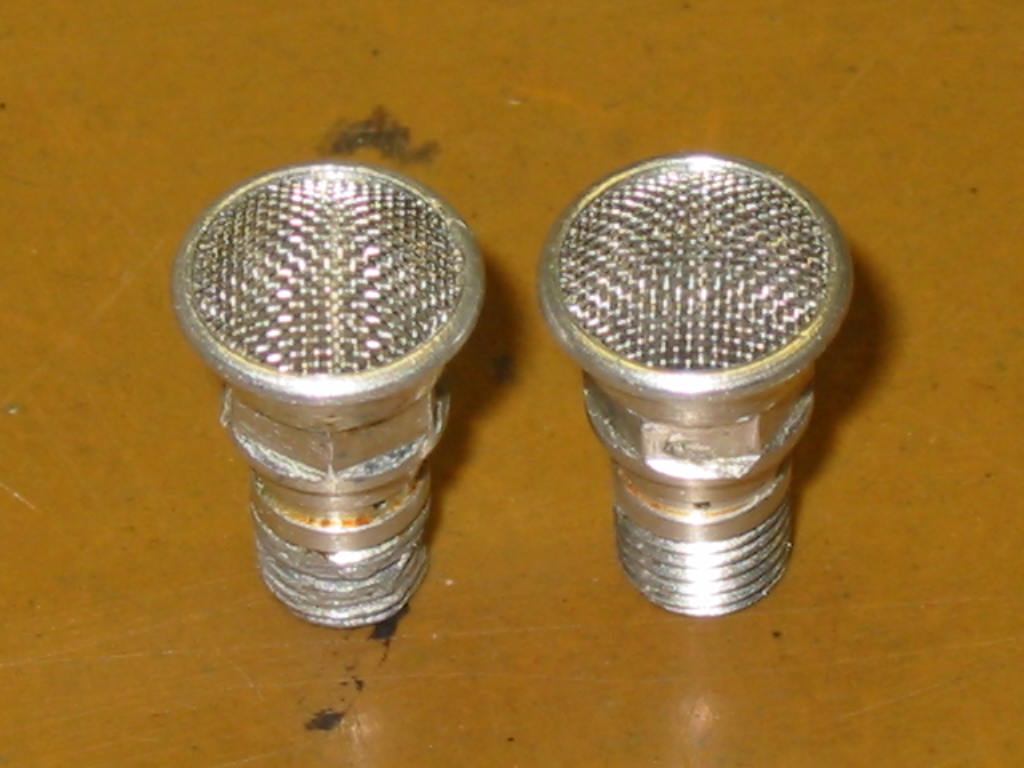
I did play around with a 10mm dia. Screen, which seats in the groove as well.
The plus with the 10mm diameter screen is, you use your thumb to carefully press down on the screen to seat it in the groove. With the diameter being oversized you’ll get a domed shape screen in your venturi and it will look like one of those high performance intakes?
Have you ever ordered a Tee Dee venturi and there is a groove for the mesh screen but there is no screen?

Well, I decided I was tired of venturi without screens and did something about it.
Below is what it took to get screens on all of my Tee Dees that the venturi with the mesh screen groove but didn’t have the screens installed.

1st thing was to get the correct mesh screen count that Cox used. Cox used a 60-mesh count screen. I did this by carefully measuring the one venturi I had that had a mesh screen installed. Then I went on-line to get a mesh screen that was the same count (per inch).

Next was to figure out the diameter size needed to fit the venturi correctly (into the groove).
I found out the 3/8” diameter was the correct size (after many trials of sizes: inch and metric).


After I punched out the screen to 3/8 dia., I rolled the screen over a 5/16 ball to make it domes shape to insert the screen into the groove into the venturi.

Next was to make sure that all of the screen was in the groove.


The next step was to use a ruler and flatten the screen down to seat it into the groove into the venturi.
I used a metal 6 inch ruler to flatten the screen.


Photo of before and after the screen mesh flattening is below:


And that is it! A Cox Tee Dee venturi with the mesh screen installed in the venturi.
I did play around with a 10mm dia. Screen, which seats in the groove as well.
The plus with the 10mm diameter screen is, you use your thumb to carefully press down on the screen to seat it in the groove. With the diameter being oversized you’ll get a domed shape screen in your venturi and it will look like one of those high performance intakes?


Last edited by sosam117 on Sun Jul 25, 2021 10:34 am; edited 1 time in total (Reason for editing : Title --- Enya Reed engines as well.)

sosam117- Diamond Member

- Posts : 1344
Join date : 2016-03-23
Location : Suburb of Chicago, Illinois
 Re: Venturi without mesh screen (installation) --- Enya Rear Induction engines too!
Good job, and thanks for the write-up. I have a sneaking feeling the screen may improve fuel draw a bit too.
_________________
Never enough time to build them all...always enough time to smash them all!
944_Jim- Diamond Member


Posts : 2021
Join date : 2017-02-08
Age : 59
Location : NE MS
 Re: Venturi without mesh screen (installation) --- Enya Rear Induction engines too!
Hey, that’s pretty cool! So the mesh just stays there, no need to punch in the lip on the venturi or anything like that?
I have a couple of old Tee Dees with the mesh missing, and a piece of stainless really high-count mesh somewhere, definitely need to try that!
What is that punch-tool thing that you used?
I have a couple of old Tee Dees with the mesh missing, and a piece of stainless really high-count mesh somewhere, definitely need to try that!
What is that punch-tool thing that you used?

KariFS- Diamond Member

- Posts : 2041
Join date : 2014-10-10
Age : 53
 Re: Venturi without mesh screen (installation) --- Enya Rear Induction engines too!
All stars, great effort, great result!

rsv1cox- Top Poster


Posts : 11207
Join date : 2014-08-18
Location : West Virginia
 Re: Venturi without mesh screen (installation) --- Enya Rear Induction engines too!
I like it and I see use for doing so. I have several H&R fuel filters that have the screen mesh missing. These are quite small inline filters that H&R used to produce and are now offered by Brodak. Replacement screens aren't offered. I haven't tried the Brodak version and I would venture to say that if it could be cheapened, it was. When these were taking apart for cleaning and one tried to blow out any residual dirt in the screen, you lost it forever. That's when I learned to clean the screen, hold it with needle nose and light it on fire. I never lost one since but I have several without screens. I tried the mesh screen from the top of Cox fuel cans but they were just a bit too small.

Ken Cook- Top Poster

- Posts : 5627
Join date : 2012-03-27
Location : pennsylvania
 Re: Venturi without mesh screen (installation) --- Enya Rear Induction engines too!
This is a nice ad i like this Me by pure chance I found a screen that came from a carburetor kit for a Weed wacker de screen was exactly Perfect for a .049 tee dee ventury 


davidll1984- Diamond Member

- Posts : 2327
Join date : 2020-02-12
Age : 39
Location : shawinigan
 Re: Venturi without mesh screen (installation) --- Enya Rear Induction engines too!
Been there done that on KB intakes. Used a 13mm Oring hooked twisted around the fuel nipple and the NV seal tube, holds the mesh screen down as a yoke.
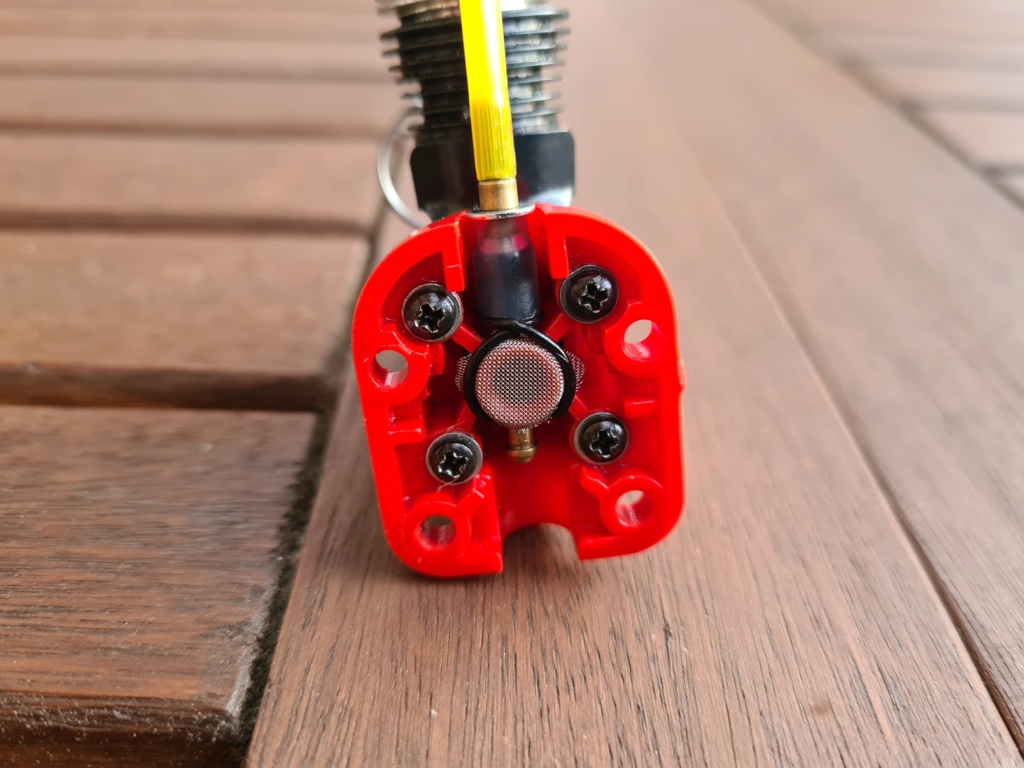
Another time I added a screen from a bathtub tap and fixed it on the TD09 venturi with the neck cut off of a balloon:
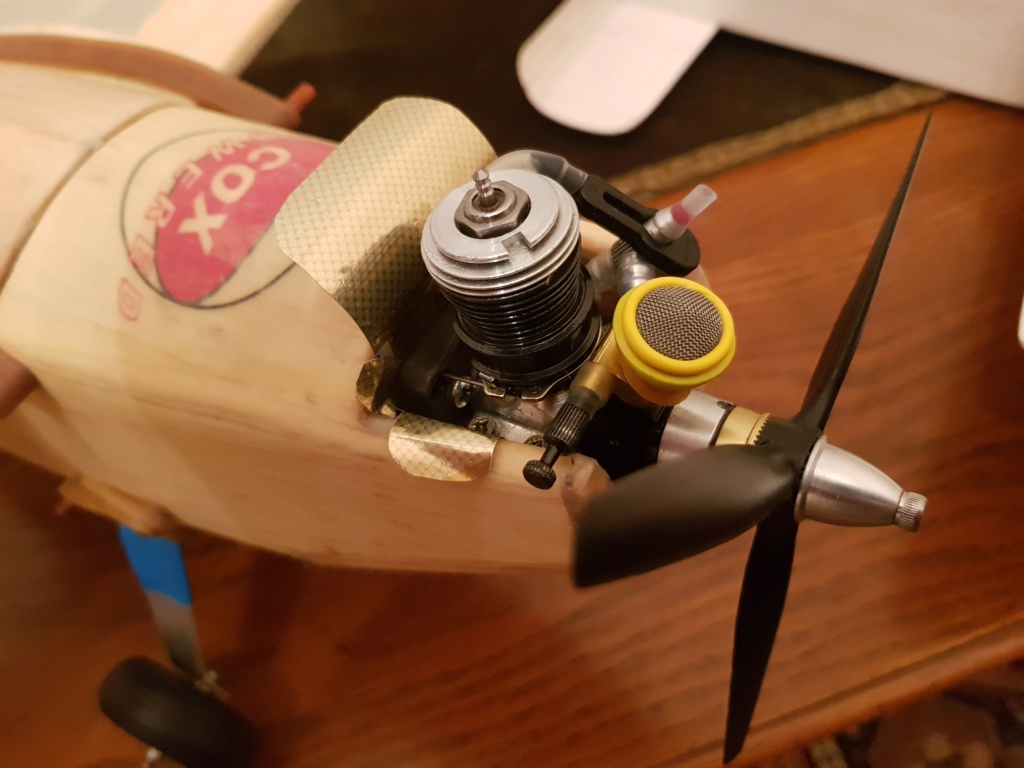
Helped improve the fuel draw a bit

Another time I added a screen from a bathtub tap and fixed it on the TD09 venturi with the neck cut off of a balloon:

Helped improve the fuel draw a bit

balogh- Top Poster


Posts : 4940
Join date : 2011-11-06
Age : 66
Location : Budapest Hungary
 Re: Venturi without mesh screen (installation) --- Enya Rear Induction engines too!
KariFS wrote:Hey, that’s pretty cool! So the mesh just stays there, no need to punch in the lip on the venturi or anything like that?
I have a couple of old Tee Dees with the mesh missing, and a piece of stainless really high-count mesh somewhere, definitely need to try that!
What is that punch-tool thing that you used?
The venturi already has a lip that was made during machining, the next step was to install the mesh screen like I did.
I do the same thing when I install a screen on the Bee engine's back plates.
Though I use a smaller ball (to curve the screen) and the screen purchased from either Matt or Burnie.
Then insert it into the back plate and flatten out the screen.
The punch set I used is from Precision Brand Products, Inc.
They are just up the road from me in Dowers Grove and I purchased the metric and inch sets from them.
The "ThruPunch" inch sets (two of them) I have go from 1/8" to 3/4", and the 7/8" to 1-1/4"
(set #1 -- 1/8, 3/16, 1/4, 5/16, 3/8, 7/16, 1/2, 5/8, 3/4)
(set #2 -- 7/8, 1, 1-1/8, 1-1/4)
The metric "ThruPunch sets goes from 3mm to 20mm ( 3, 4, 5, 6, 7, 8, 10, 12, 16, 20mm)
Their address is:
2250 Curtis Street
Downers Grove, ILLinois 60515 U.S.A
website is:
www.precisionbrand.com
I also use their "ABC Blackener" and "Tool Blackener" to get the black finish on the cylinders and starter springs
https://precisionbrand.com/product-category/blackeners/
Nice little store in a industrial section of Downers Grove.
hard to find the store if you do not know what you are looking for?
Last edited by sosam117 on Sat Jul 24, 2021 1:59 pm; edited 1 time in total (Reason for editing : Screen lip -- already there.)

sosam117- Diamond Member

- Posts : 1344
Join date : 2016-03-23
Location : Suburb of Chicago, Illinois
 Re: Venturi without mesh screen (installation) --- Enya Rear Induction engines too!
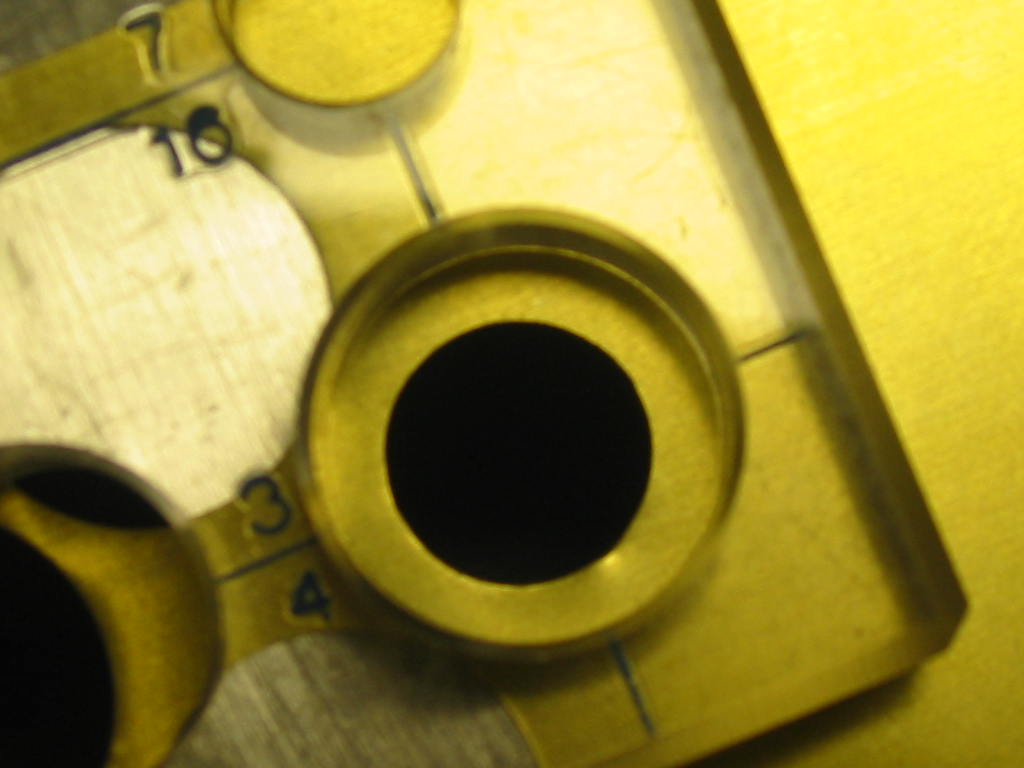
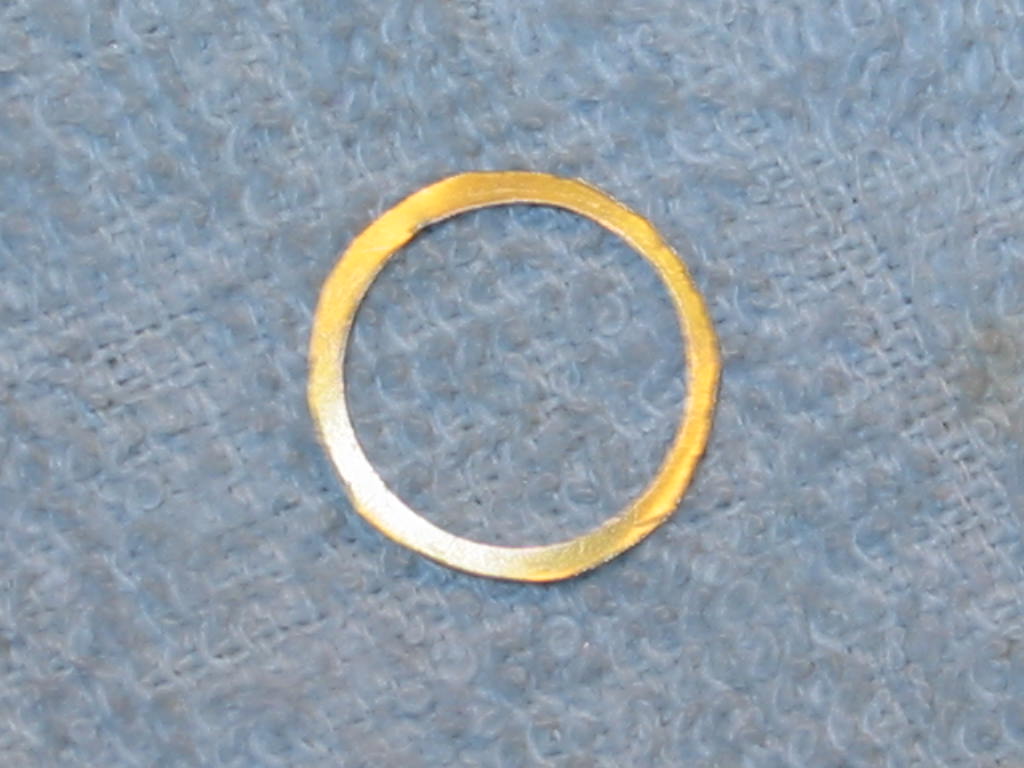
The punch sets I have have been very useful since I purchased them in 2018.
They have helped in making cylinder head shims, shims for crankshafts (thrust shims -- from copper).
Washers, and other things.
They have come in handy when I have been rebuilding my engines.
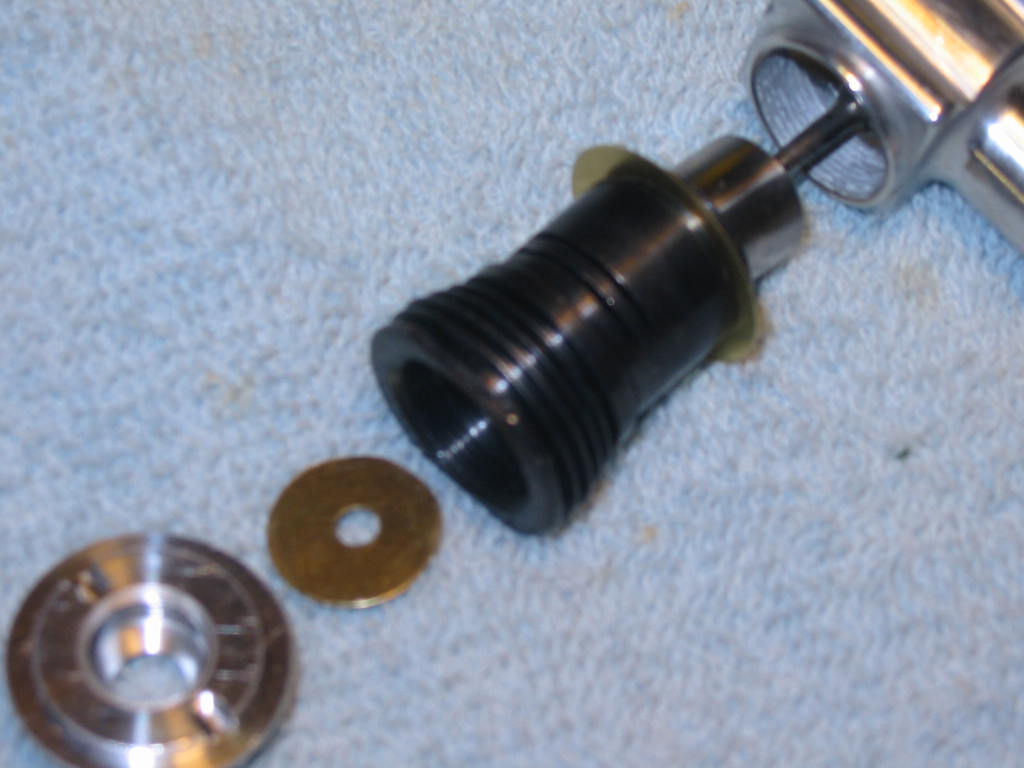
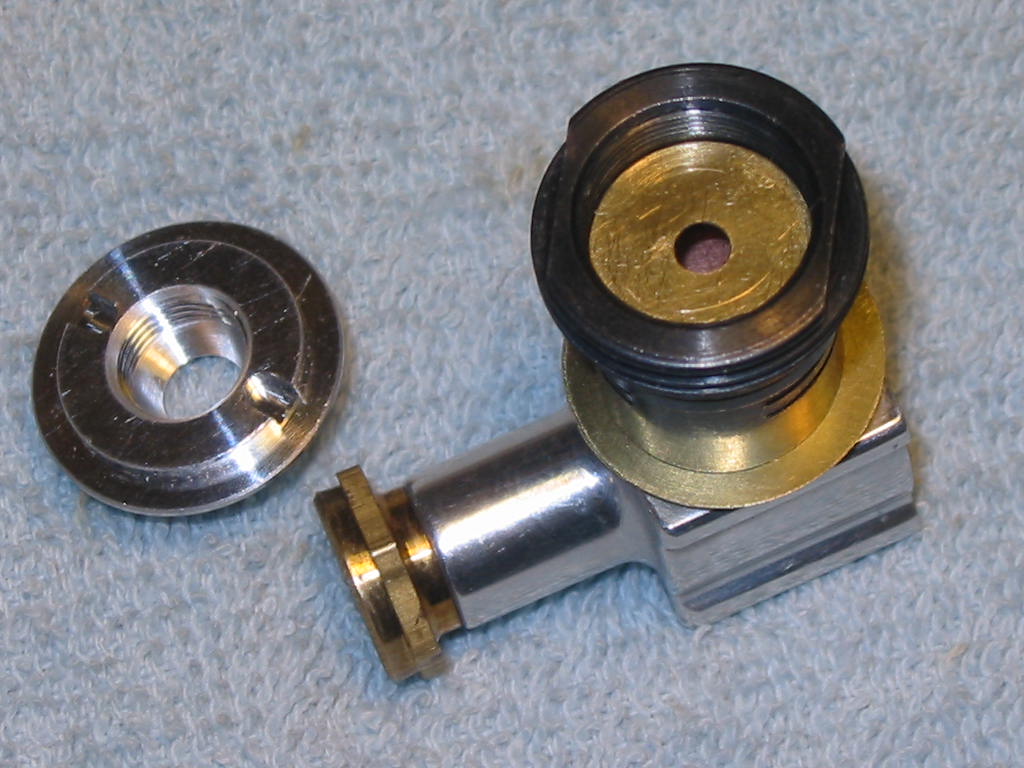
The crankshaft play has been reduced (because of using a started on them)
Helped in SPI timing and making thrust bushing behind the prop driver and shimming between the crankcase housing and the thrust washer to reduce the crank end play, so the crank doesn't rub against the backplate or reed cage.


sosam117- Diamond Member

- Posts : 1344
Join date : 2016-03-23
Location : Suburb of Chicago, Illinois

sosam117- Diamond Member

- Posts : 1344
Join date : 2016-03-23
Location : Suburb of Chicago, Illinois

rsv1cox- Top Poster


Posts : 11207
Join date : 2014-08-18
Location : West Virginia
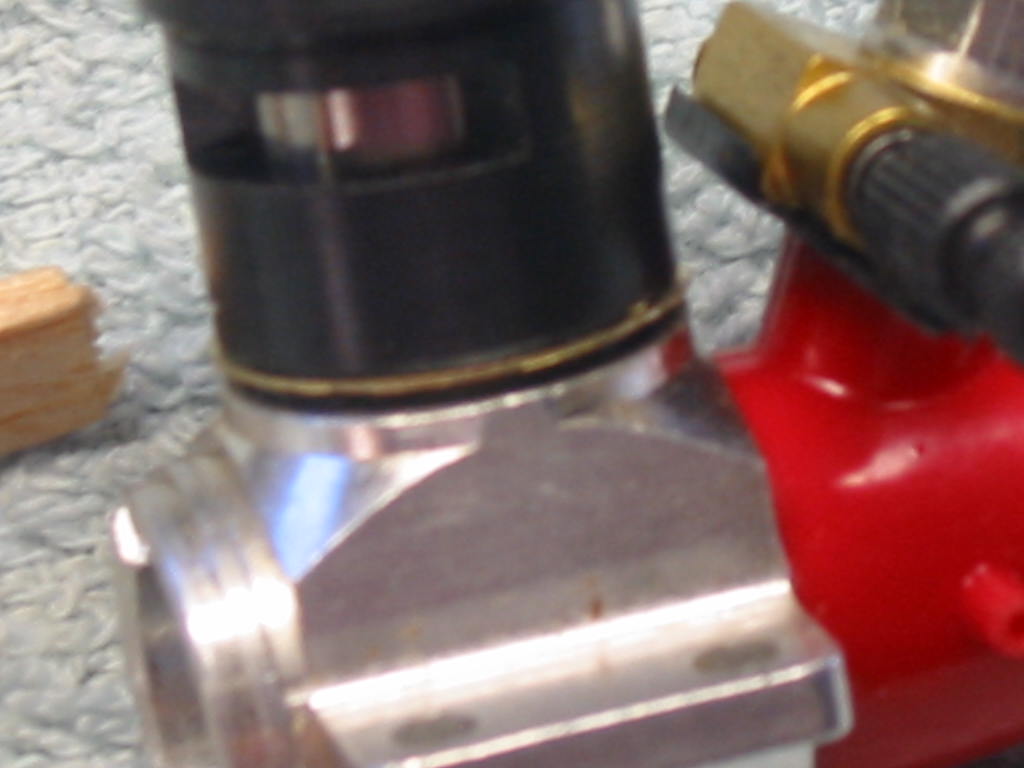
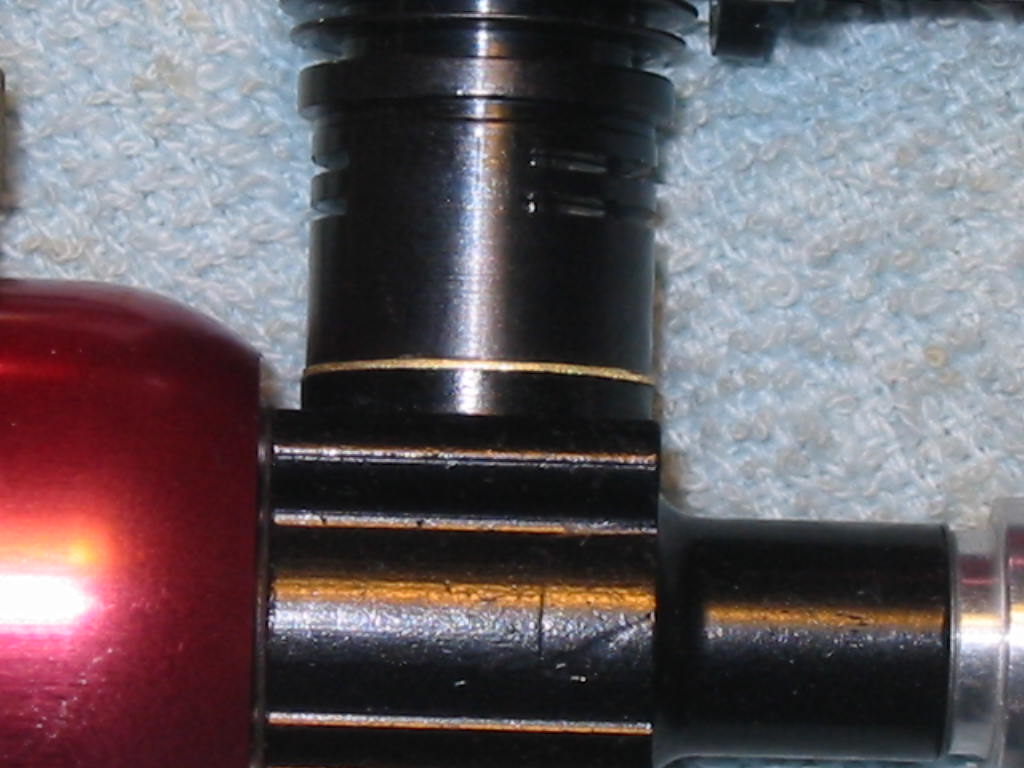
 Installing mesh screens on my Enya Rear Induction Reed engines.
Well since I got KariFS Tee Dee mesh screens done.
I decided to move on to the other engines that needed the mesh screens installed.
Yes they are not Cox engines but Enya rear induction reed engines.
The photo is only three of the eleven Enya rear induction reeds engines I have.
A mix of Enya .049 and Enya .06 Reed engines.

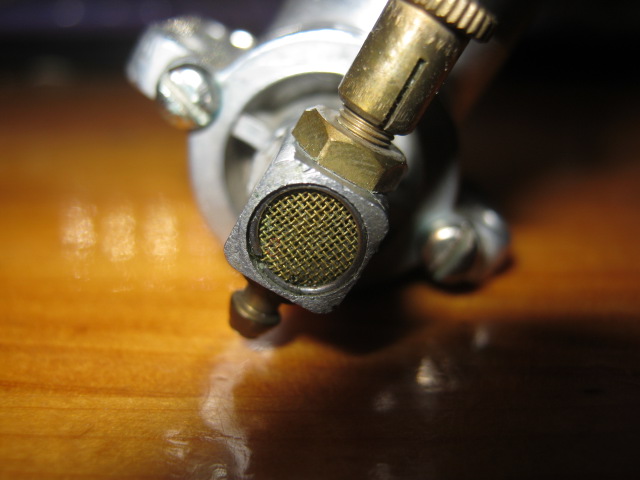
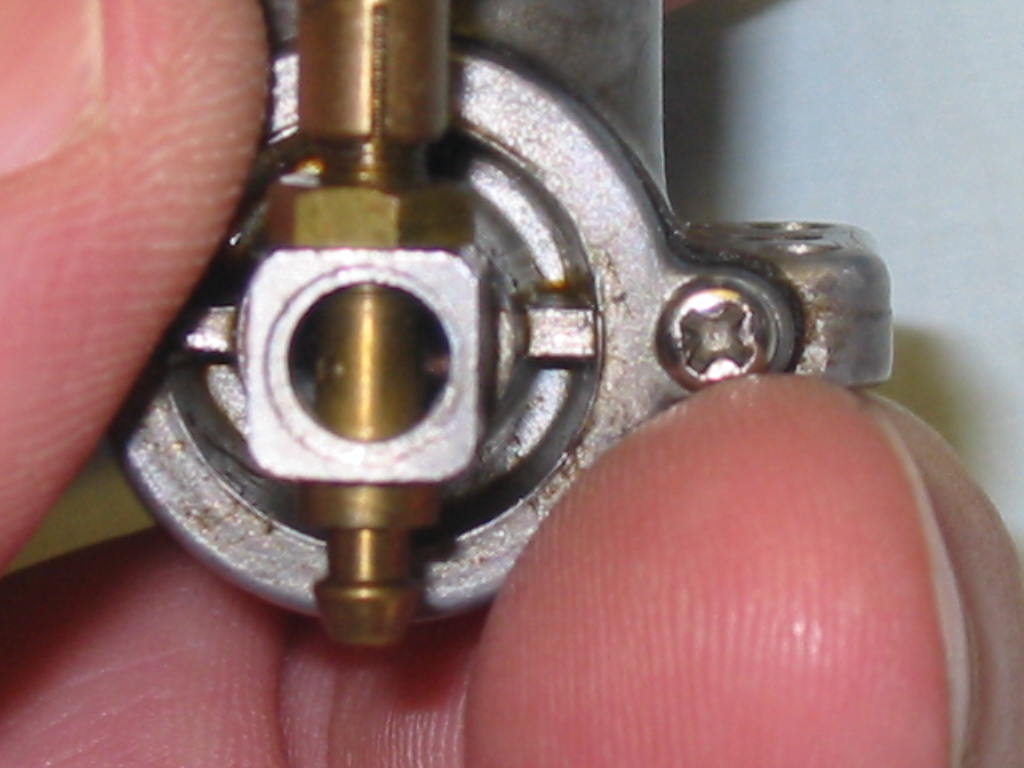
The next photos show that these venturi do not have the mesh screens as well.
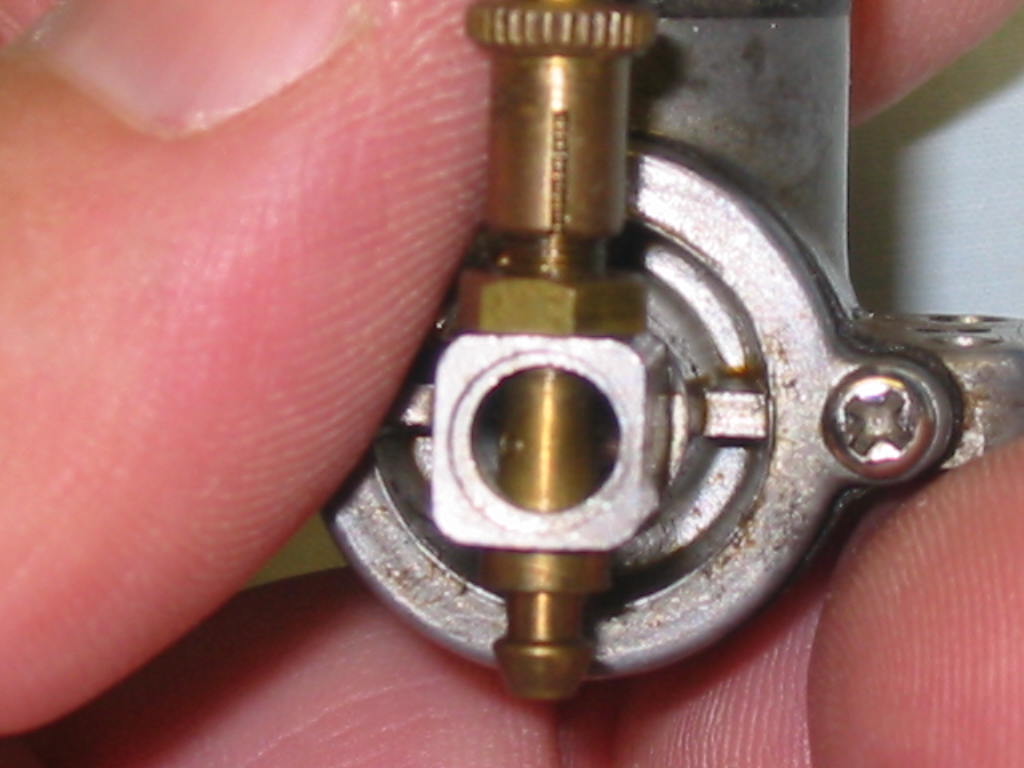
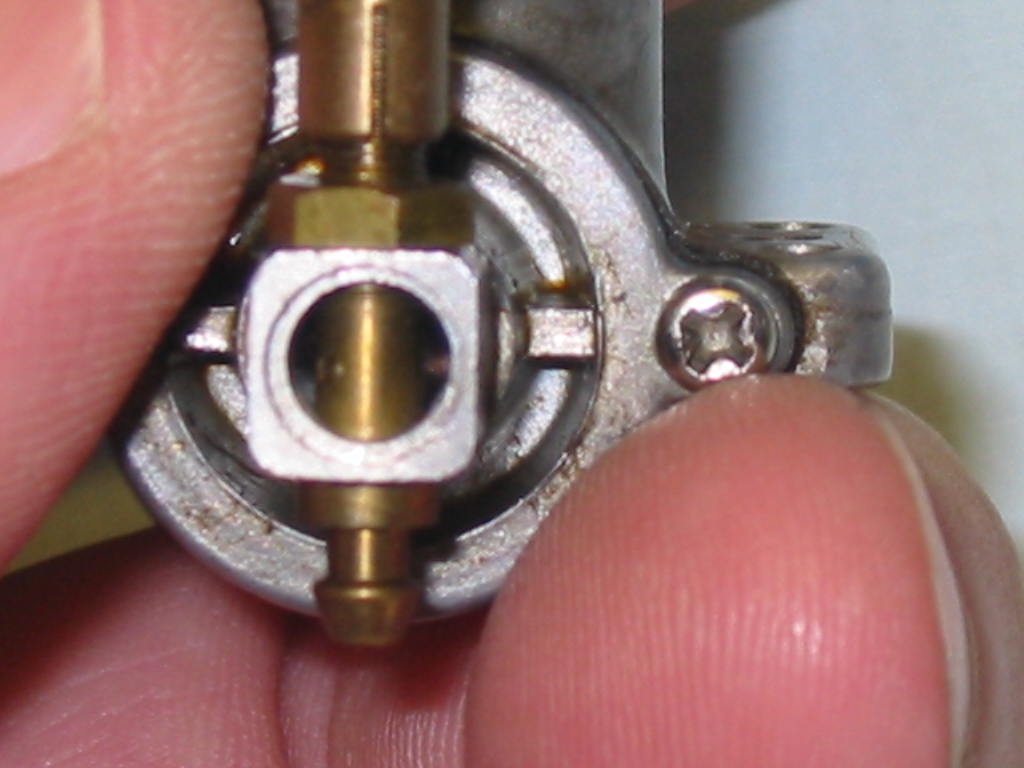
I do have one Enya reed engine that has a mesh screen that I repaired with JB Weld a few months ago.
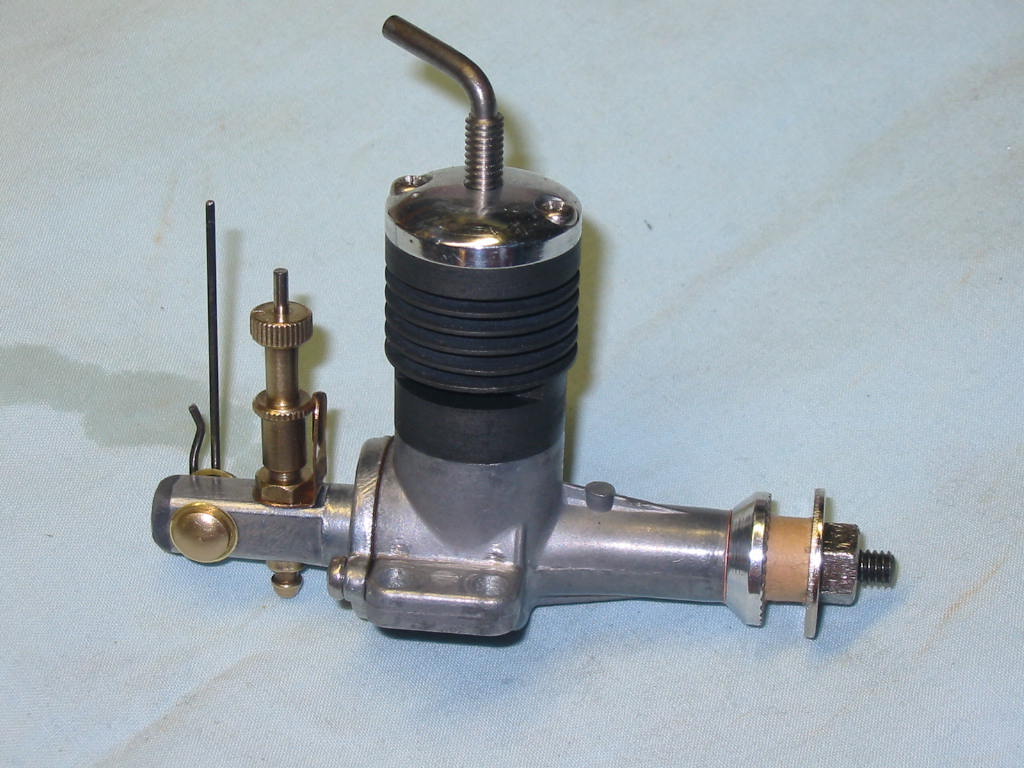
That engine had the mesh screen and a clip.
But as you can see, Enya used a brass screen where I'll be installing a stainless steel screen.
So, I measured the recessed diameter in the venturi and it measured 6mm.
Next was to punch out a dozen mesh screens for the engines.

Then to make the clips to hold the screens in place.
I used the 5mm punch to bend the .020" music wire around.
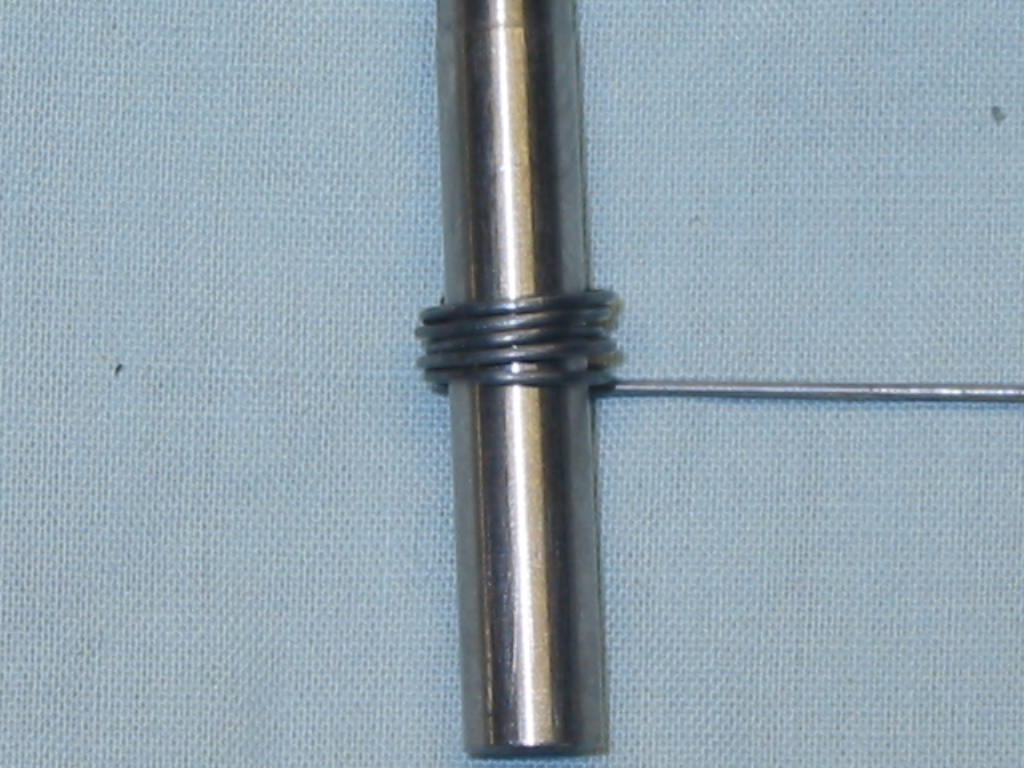
Then I used my Dremel to cut the wire loops into "C" clips to hold the screens.

And last was to install the mesh screen and the clip into the Enya's venturi.

I did this to the other three I had there on my bench.

Now on to getting the other Enya rear induction reeds done, just like these three.
I decided to move on to the other engines that needed the mesh screens installed.
Yes they are not Cox engines but Enya rear induction reed engines.
The photo is only three of the eleven Enya rear induction reeds engines I have.
A mix of Enya .049 and Enya .06 Reed engines.

The next photos show that these venturi do not have the mesh screens as well.


I do have one Enya reed engine that has a mesh screen that I repaired with JB Weld a few months ago.

That engine had the mesh screen and a clip.
But as you can see, Enya used a brass screen where I'll be installing a stainless steel screen.

So, I measured the recessed diameter in the venturi and it measured 6mm.

Next was to punch out a dozen mesh screens for the engines.

Then to make the clips to hold the screens in place.
I used the 5mm punch to bend the .020" music wire around.

Then I used my Dremel to cut the wire loops into "C" clips to hold the screens.

And last was to install the mesh screen and the clip into the Enya's venturi.

I did this to the other three I had there on my bench.

Now on to getting the other Enya rear induction reeds done, just like these three.
Last edited by sosam117 on Sun Jul 25, 2021 10:39 am; edited 1 time in total (Reason for editing : brass screen verses stainless screen.)

sosam117- Diamond Member

- Posts : 1344
Join date : 2016-03-23
Location : Suburb of Chicago, Illinois
 Re: Venturi without mesh screen (installation) --- Enya Rear Induction engines too!
 this is Somting cool sosam117 enya Very beautiful works Well done that should protect the engine
davidll1984- Diamond Member

- Posts : 2327
Join date : 2020-02-12
Age : 39
Location : shawinigan

KariFS- Diamond Member

- Posts : 2041
Join date : 2014-10-10
Age : 53
 Re: Venturi without mesh screen (installation) --- Enya Rear Induction engines too!
Kari,
Glad I could help you out on making those screens for your Cox engines.
Glad I could help you out on making those screens for your Cox engines.

sosam117- Diamond Member

- Posts : 1344
Join date : 2016-03-23
Location : Suburb of Chicago, Illinois
 Similar topics
» Mesh screen .049 Cox engines
» Enya 06 T.V Diesel Rear Induction Reconditioned
» Back Plate Hole size for Venturi (behind screen)
» Olympic 15 or Rear venturi motors
» .020 Mesh screen cylinder
» Enya 06 T.V Diesel Rear Induction Reconditioned
» Back Plate Hole size for Venturi (behind screen)
» Olympic 15 or Rear venturi motors
» .020 Mesh screen cylinder
Page 1 of 1
Permissions in this forum:
You cannot reply to topics in this forum

 Rules
Rules


