Log in
Search
Latest topics
» Here we go again... another Lawn-Boyby rdw777 Today at 9:17 am
» Revivng Some Childhood Classics
by getback Today at 8:21 am
» Roddie-Rigger.. a 2005 original design
by getback Today at 6:31 am
» A prototype Cox Reed-valve marine engine
by roddie Yesterday at 10:50 pm
» My Cox .049 Marine inboard engine
by F4D Phantom II Yesterday at 9:33 pm
» **VOTE-ON-THE-NEXT-COX-ENGINE-OF-THE-MONTH** (May 2024)
by Kim Yesterday at 8:53 pm
» Help Pee Wee tank cap .020
by MauricioB Yesterday at 8:45 pm
» Jim Walkers FireBee - This is going to be fun
by rsv1cox Yesterday at 7:29 am
» Post your Older books
by rsv1cox Mon May 06, 2024 7:51 pm
» EXTREMELY RARE COX THIMBLE DROME PROTOTYPE "BLACK WIDOW" GAS MODEL AIRPLANE
by rsv1cox Mon May 06, 2024 6:58 pm
» I brake for Turtles....
by rsv1cox Mon May 06, 2024 6:38 pm
» Ball - Socket Joints
by Ken Cook Mon May 06, 2024 3:06 pm
Cox Engine of The Month
Another build
Page 2 of 2
Page 2 of 2 •  1, 2
1, 2
 Re: Another build
The fuselage is now under way.

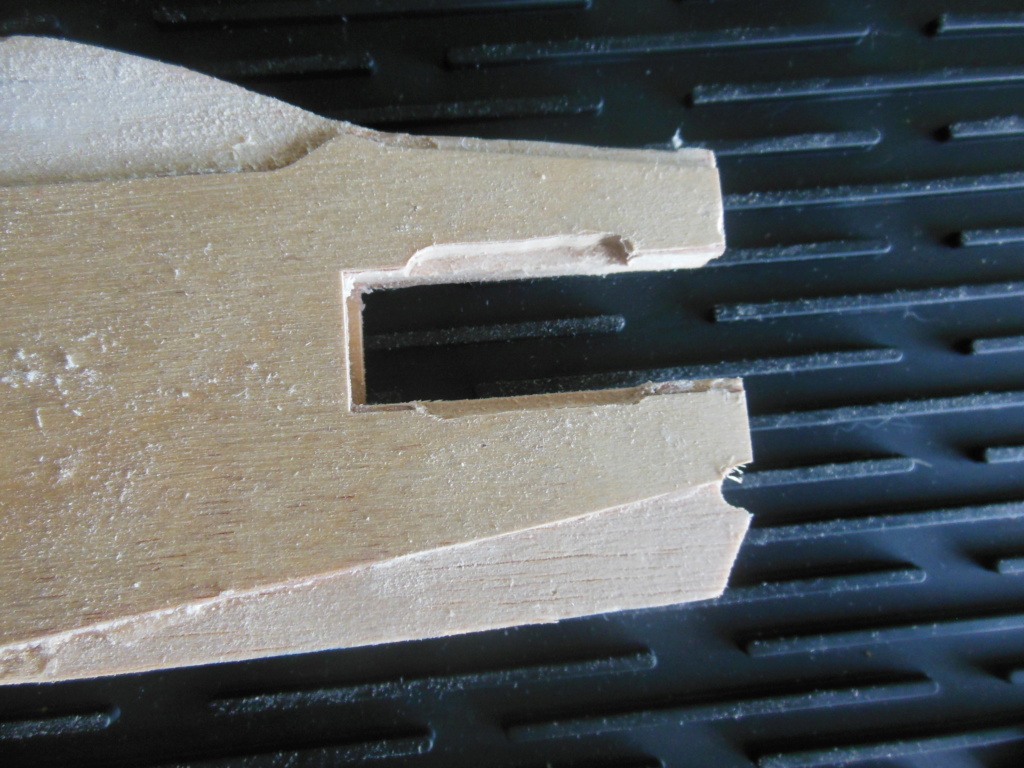
The engine bearers and ply doublers have been epoxied and the bearers have been trimmed to accept the PAW. The PAW has a fat arse and tiny mounting holes. I have made the mistake before of moving the bearers to fit but this creates problems because when you drill out the mounting holes in the bearers they are too close to the edge.
This leaves the captive nuts hanging over the edge. Not good!
I trim the bearers around the engine so that the mounting hole are drilled in the centre of the bearers.

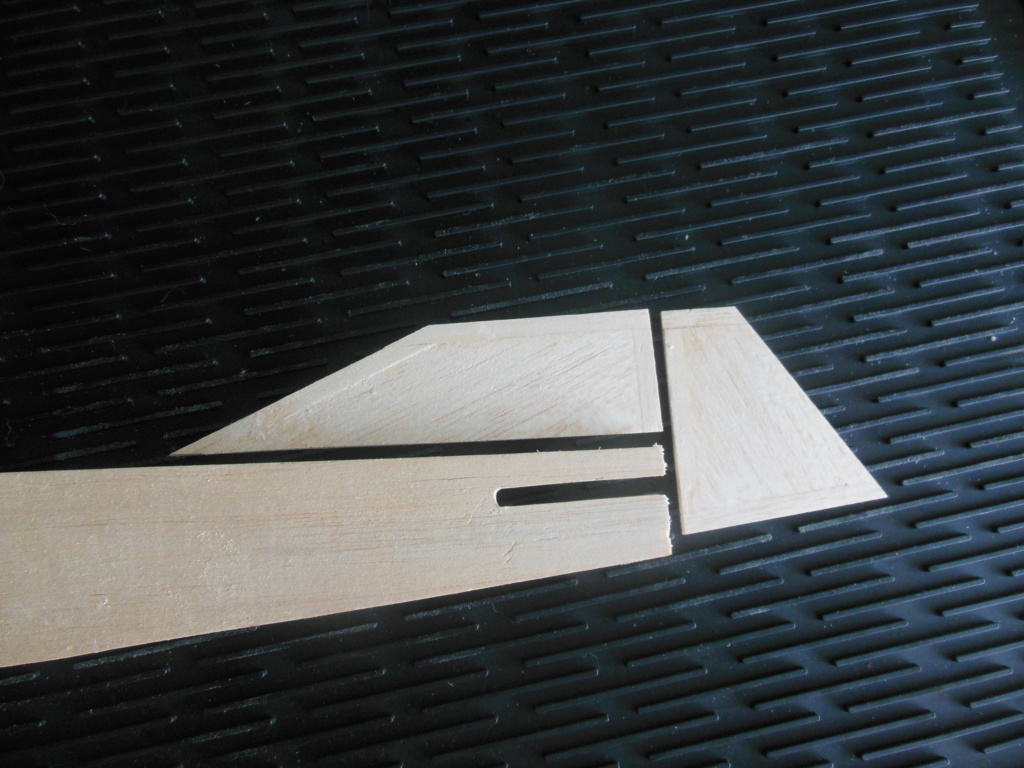
The fin and rudder have been prepared

The engine bearers and ply doublers have been epoxied and the bearers have been trimmed to accept the PAW. The PAW has a fat arse and tiny mounting holes. I have made the mistake before of moving the bearers to fit but this creates problems because when you drill out the mounting holes in the bearers they are too close to the edge.
This leaves the captive nuts hanging over the edge. Not good!
I trim the bearers around the engine so that the mounting hole are drilled in the centre of the bearers.


The fin and rudder have been prepared


ian1954- Diamond Member

- Posts : 2688
Join date : 2011-11-16
Age : 69
Location : England
 Re: Another build
Hello Ian ; Never used the pin hinges but have some i think , you make it look easy to install . Yes drill bits really tear up some balsa ! Where ur talking about realigning the U divider for the elv. is a real PTA for me to get straight ! your doing a good job of it though Looking:Thumbs UP: Good !

getback- Top Poster


Posts : 10141
Join date : 2013-01-18
Age : 66
Location : julian , NC
 Re: Another build
There is always a stage in any build where I go astray and need to make a correction.
I already new that I would have to make a change as the plan showed the fitting of a 11/4" spinner. For some reason, these are not readily available in the UK while everyone stocks 11/2" spinners.
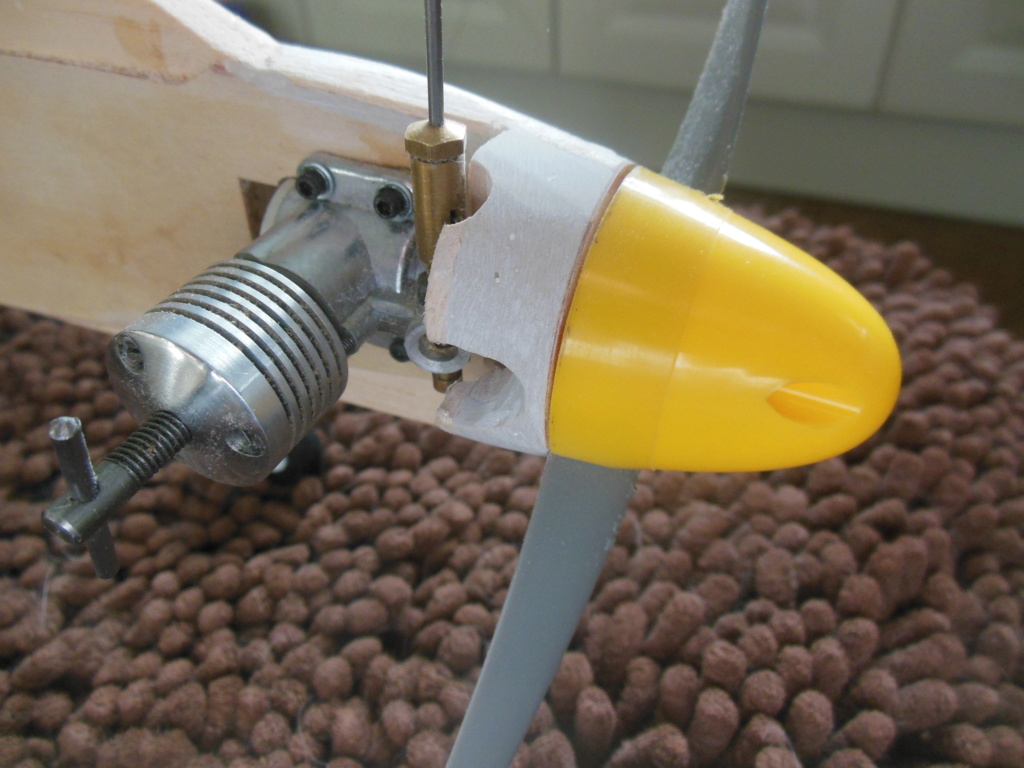
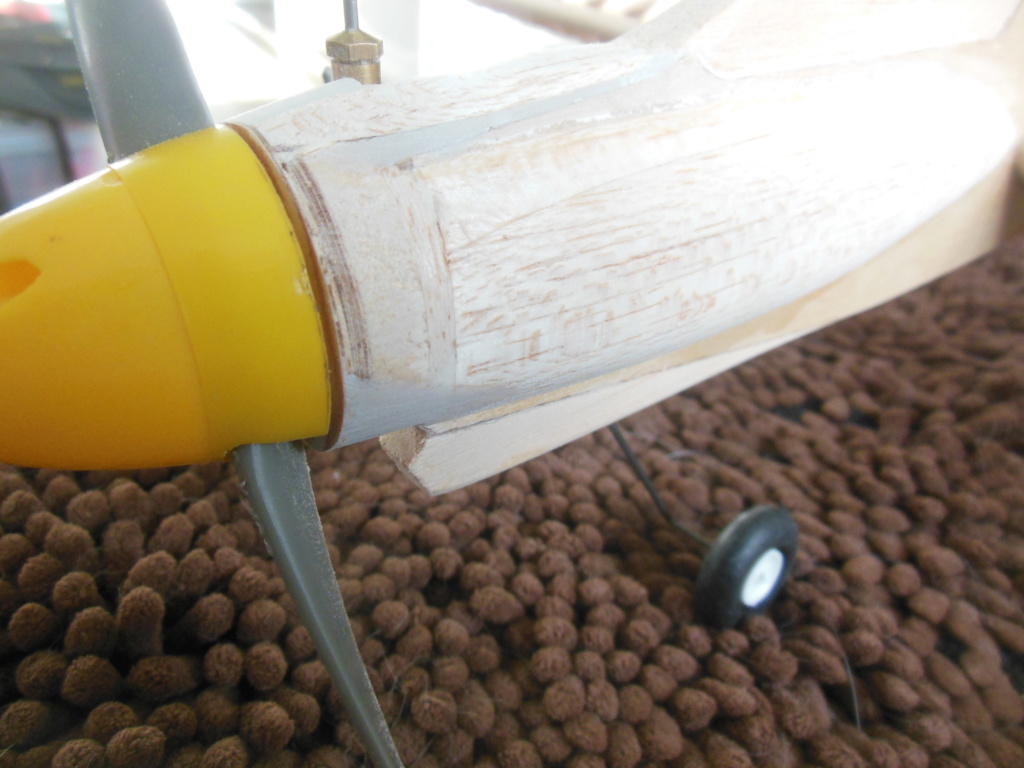
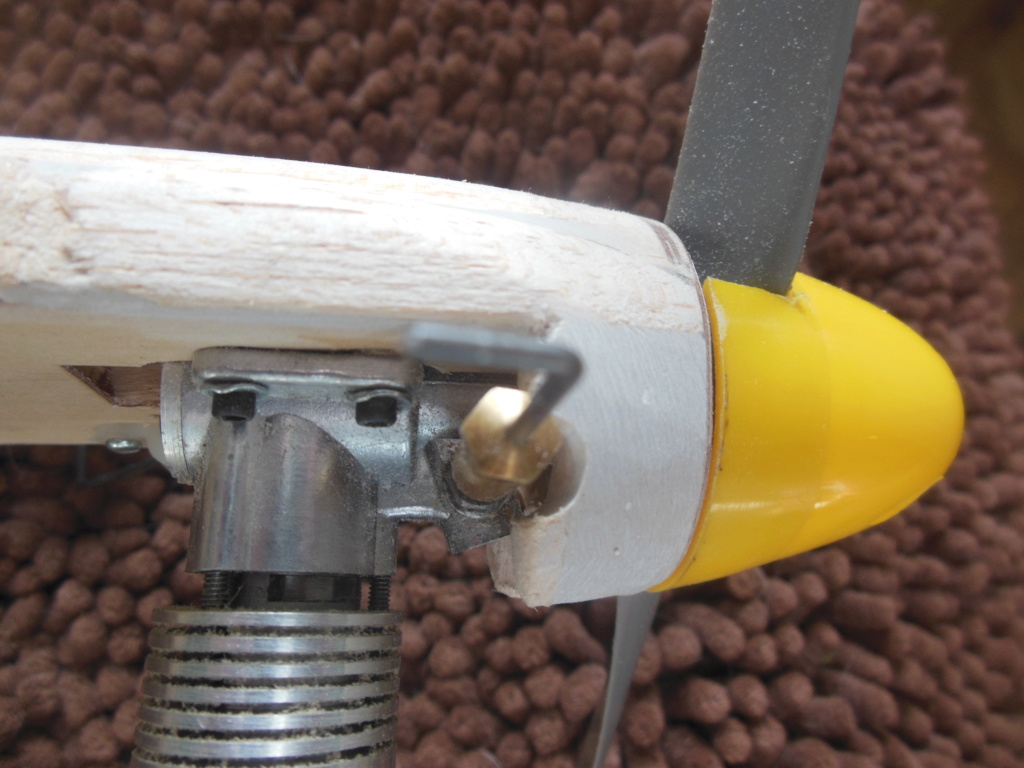
So I remade the nose rings and went about shaping the front end to the spinner. It looked really neat but ...............the intructions required offset for the engine by simply inserting washers under the front mounts.
I had done this but hadn't realised that when I tightened the engine down - those washers crushed through the ply doublers and so I had no offset!
Oh dear, how sad, well never mind! However, when I solved this with another couple of washers the crankshaft was now 1/4" off centre.
This had all been epoxied and would have been a mare to remove. So out came the grinder, more balsa and ply together with isopon filler.
Clouds of dust later


ian1954- Diamond Member

- Posts : 2688
Join date : 2011-11-16
Age : 69
Location : England
 Re: Another build
Man, that looks really nice!

Kim- Top Poster


Posts : 8534
Join date : 2011-09-06
Location : South East Missouri
 Re: Another build
Ian,
They make offset wedges at varying degrees that have a larger footprint than a couple of washers. I imagine with your skills you could easily make something.
Ron
They make offset wedges at varying degrees that have a larger footprint than a couple of washers. I imagine with your skills you could easily make something.
Ron

Cribbs74- Moderator


Posts : 11895
Join date : 2011-10-24
Age : 50
Location : Tuttle, OK
 Re: Another build
Thanks Kim.
That is a good idea Ron and I think I would take it further and remove the ply from around the mounting lugs before fitting the taper.
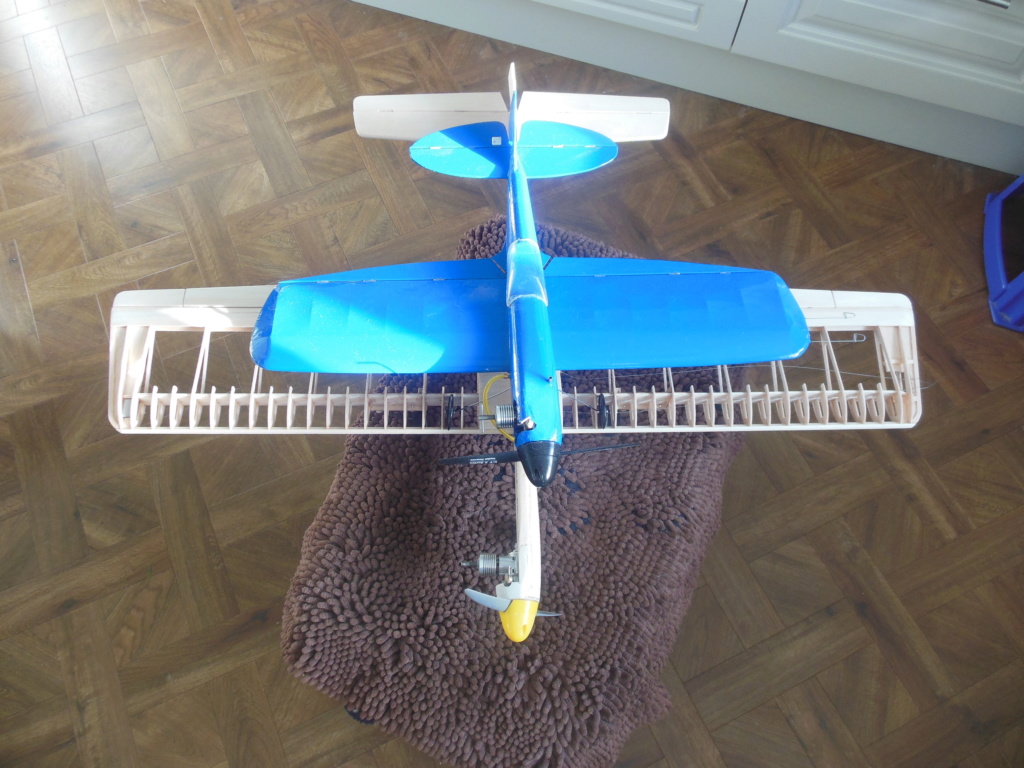
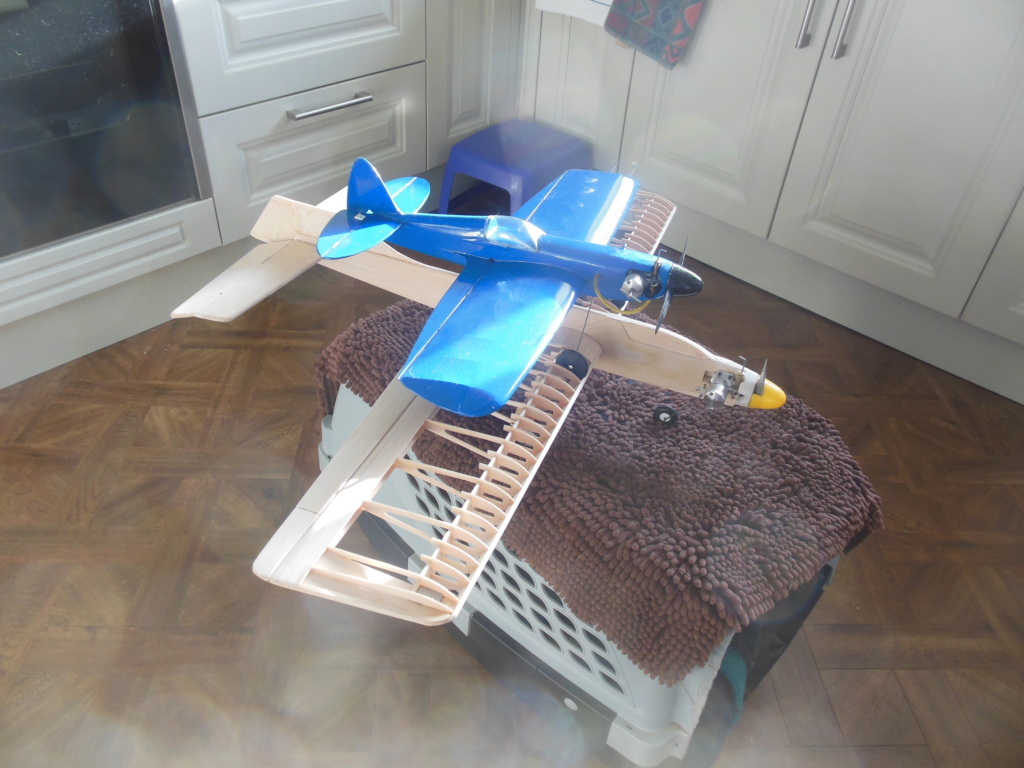
It has now been assembled for a dry fit.
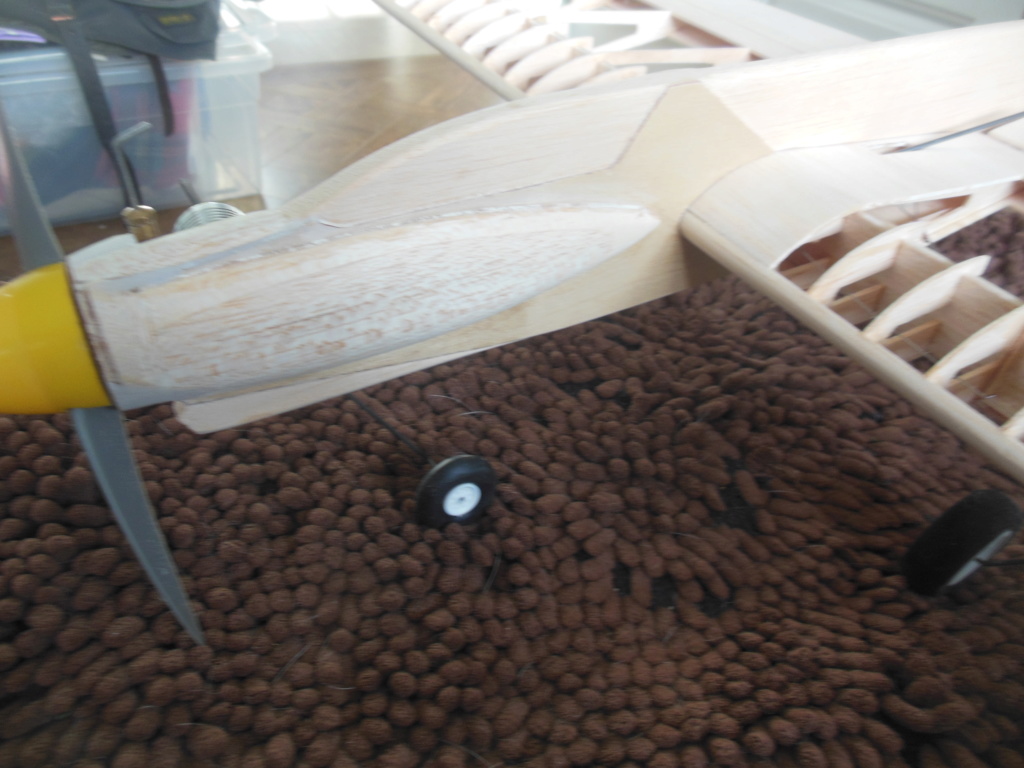
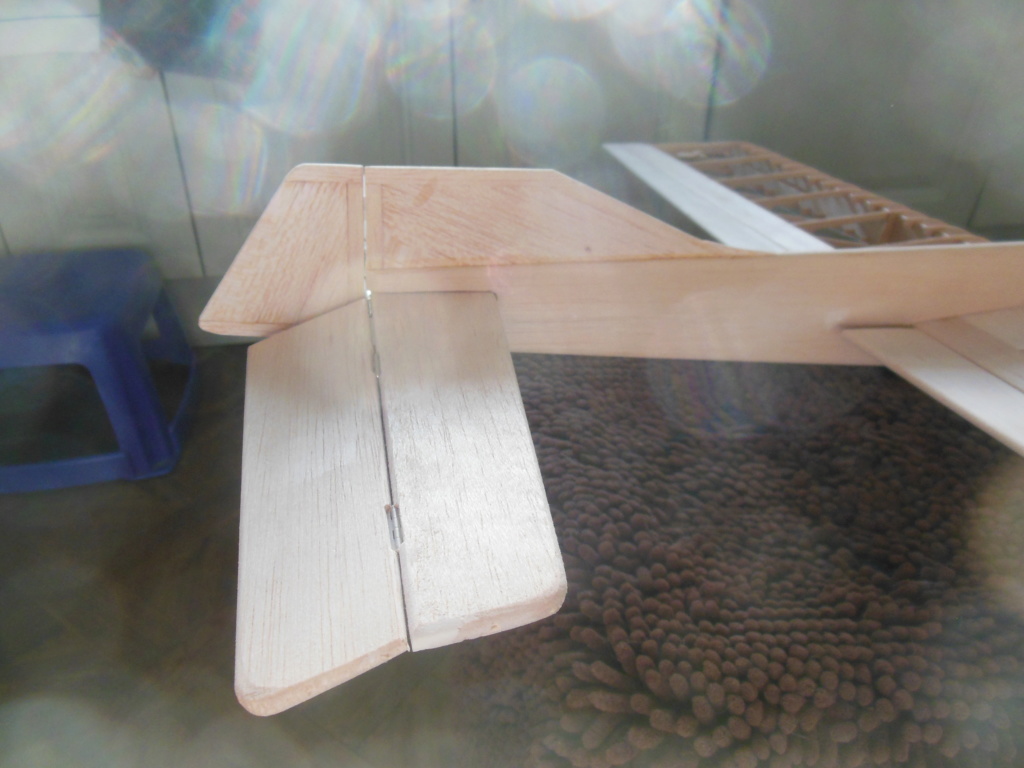

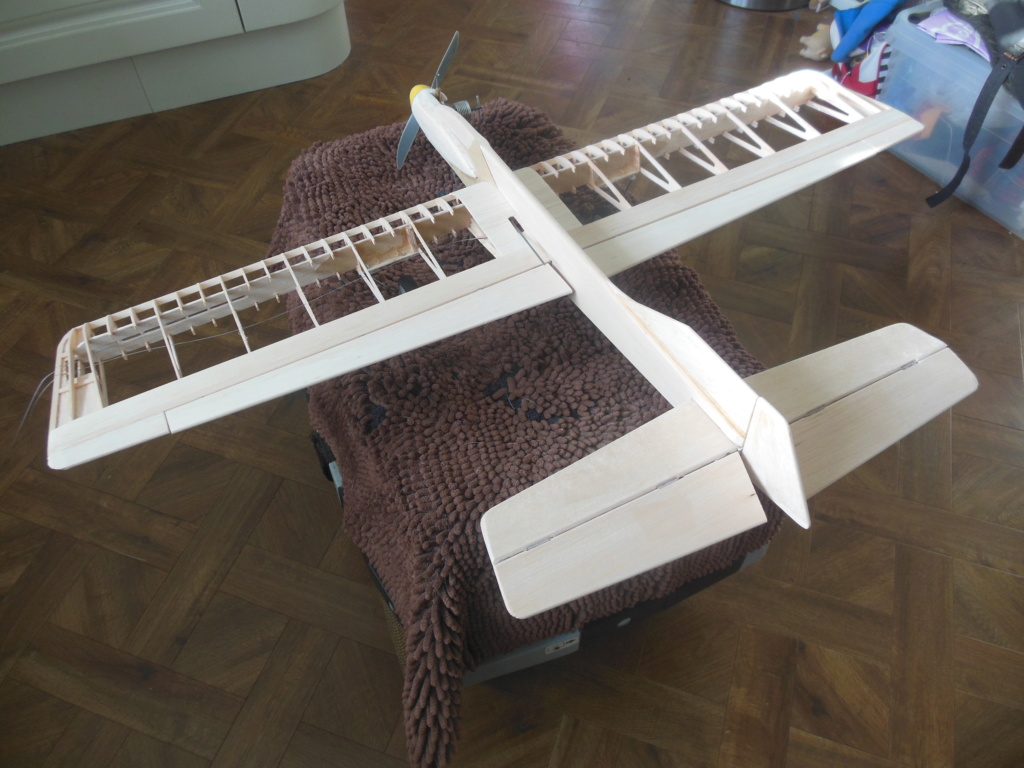
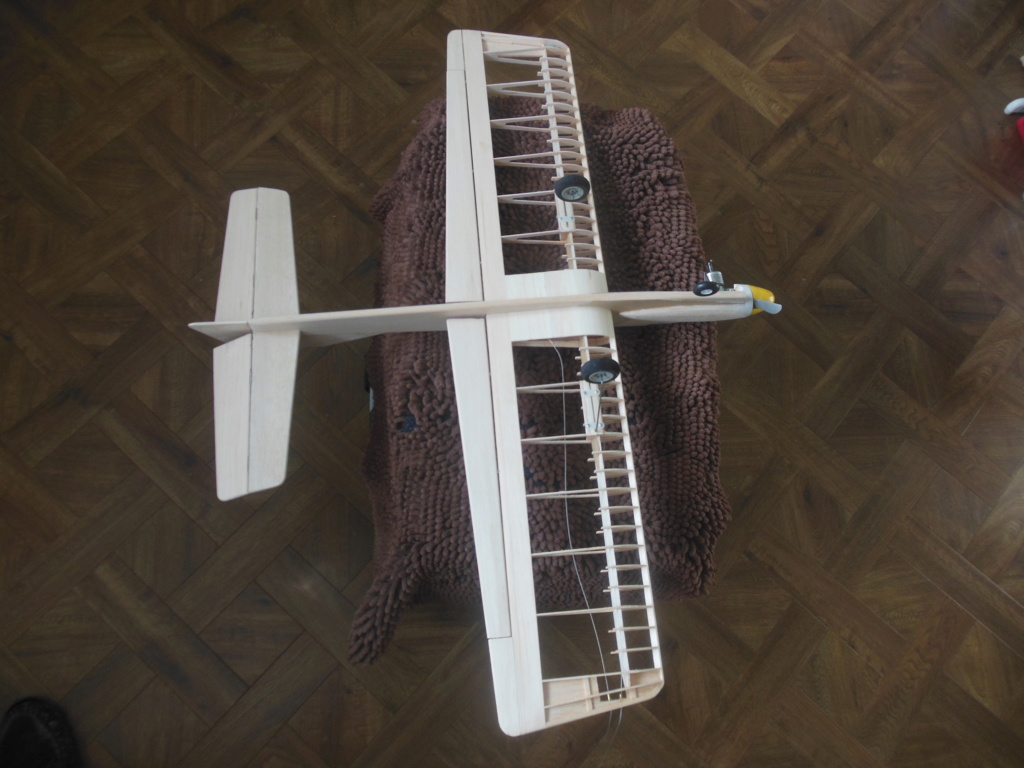

Not sure about the undercarriage - it looks flimsy


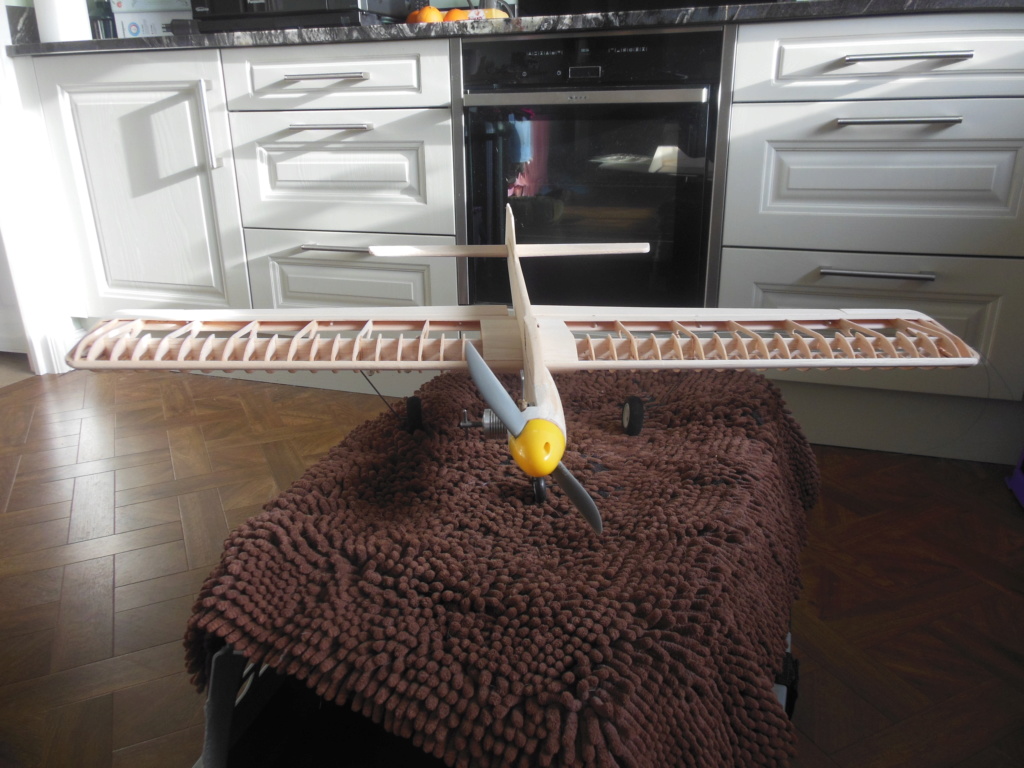
It also seems large for 1/2A - I am glad I opted for the 1cc diesel.
Now cogitating covering.
That is a good idea Ron and I think I would take it further and remove the ply from around the mounting lugs before fitting the taper.
It has now been assembled for a dry fit.


Not sure about the undercarriage - it looks flimsy


It also seems large for 1/2A - I am glad I opted for the 1cc diesel.


Now cogitating covering.

ian1954- Diamond Member

- Posts : 2688
Join date : 2011-11-16
Age : 69
Location : England
 Re: Another build
The reason it’s so big is because it’s a full on stunt ship. Most 1/2A designs that stunt really well are on the larger side. That’s not true in all cases though.
Your engine choice is probably and excellent one. You want it to fly slower than usual and have lot’s of torque. That Diesel should fit the bill.
What engine did it call for in the plans?
Your engine choice is probably and excellent one. You want it to fly slower than usual and have lot’s of torque. That Diesel should fit the bill.
What engine did it call for in the plans?

Cribbs74- Moderator


Posts : 11895
Join date : 2011-10-24
Age : 50
Location : Tuttle, OK
 Re: Another build
Cribbs74 wrote:The reason it’s so big is because it’s a full on stunt ship. Most 1/2A designs that stunt really well are on the larger side. That’s not true in all cases though.
Your engine choice is probably and excellent one. You want it to fly slower than usual and have lot’s of torque. That Diesel should fit the bill.
What engine did it call for in the plans?
Brodak 049 but the pictures in the instructions showed a Norvel/AMA 061

ian1954- Diamond Member

- Posts : 2688
Join date : 2011-11-16
Age : 69
Location : England
 Re: Another build
Yeah, if it’s a Brodak kit it makes sense to push the Brodak .049.
Probably no mistake that they show the Norvel .061 in the pictures as it’s more suited to that.
That landing gear is a pretty common setup. For a CLPA plane it’s adequate for smooth controlled 3 point landings on concrete. I would imagine if you slammed it down in grass it would tear off.
Probably no mistake that they show the Norvel .061 in the pictures as it’s more suited to that.
That landing gear is a pretty common setup. For a CLPA plane it’s adequate for smooth controlled 3 point landings on concrete. I would imagine if you slammed it down in grass it would tear off.

Cribbs74- Moderator


Posts : 11895
Join date : 2011-10-24
Age : 50
Location : Tuttle, OK
 Re: Another build
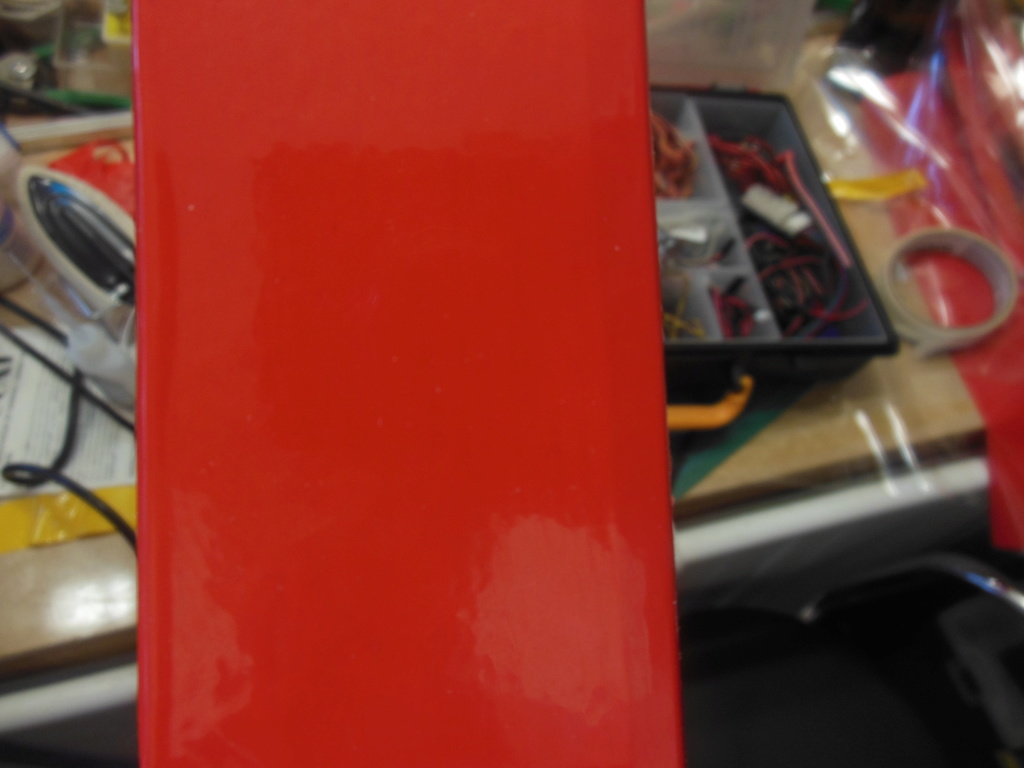
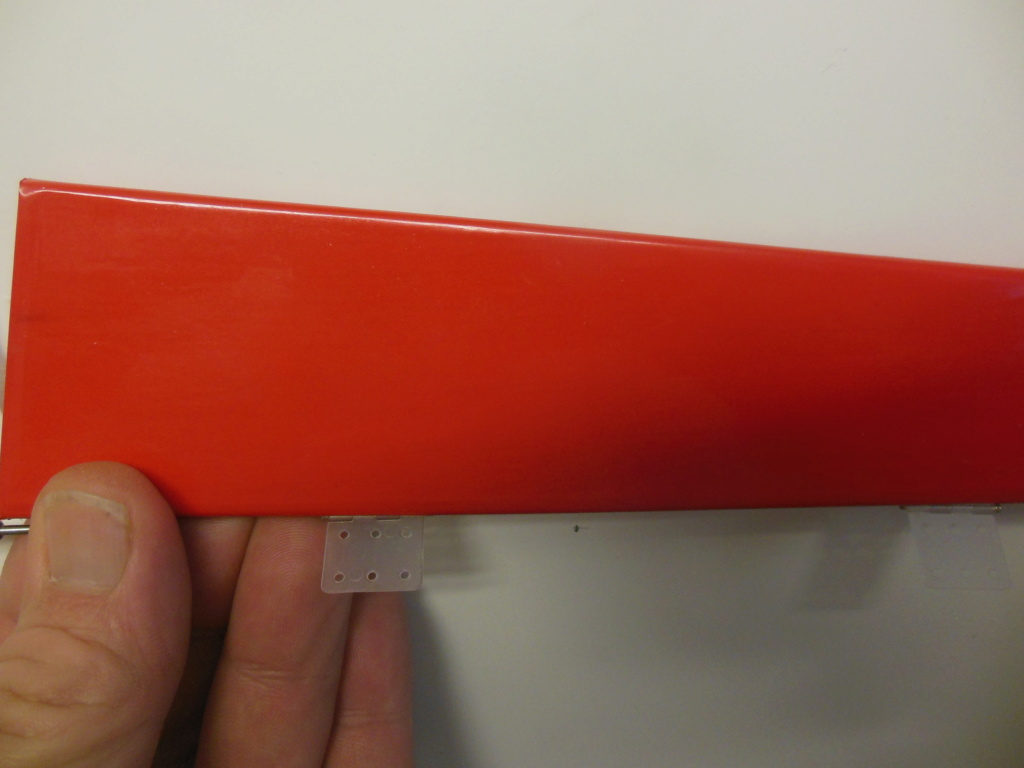
I had a 5 metre roll of Oracover Easycote and so I thought I would try it on this model.
I can say that this covered the flaps, tailplane and fuselage with ease. I was very impressed with how easy it was - seams were barely visible.
However, when it came to the wing .................. not impressed at all!!
The Easycote needs a temperature of 100 - 120 deg C to activate the adhesive and 150 deg C to shrink tight.
What is not mentioned is that the adhesive is also the covering colour and it comes off easily. You cannot tack and reposition the material easily. The colour remains stuck to the balsa and the clear material left does not reattach.
I got the covering stuck down on the wing but had difficulty stretching it around the wing tips, When it came to tautening the finish it stuck to the ribs and as it shrank the colouring scraped off.
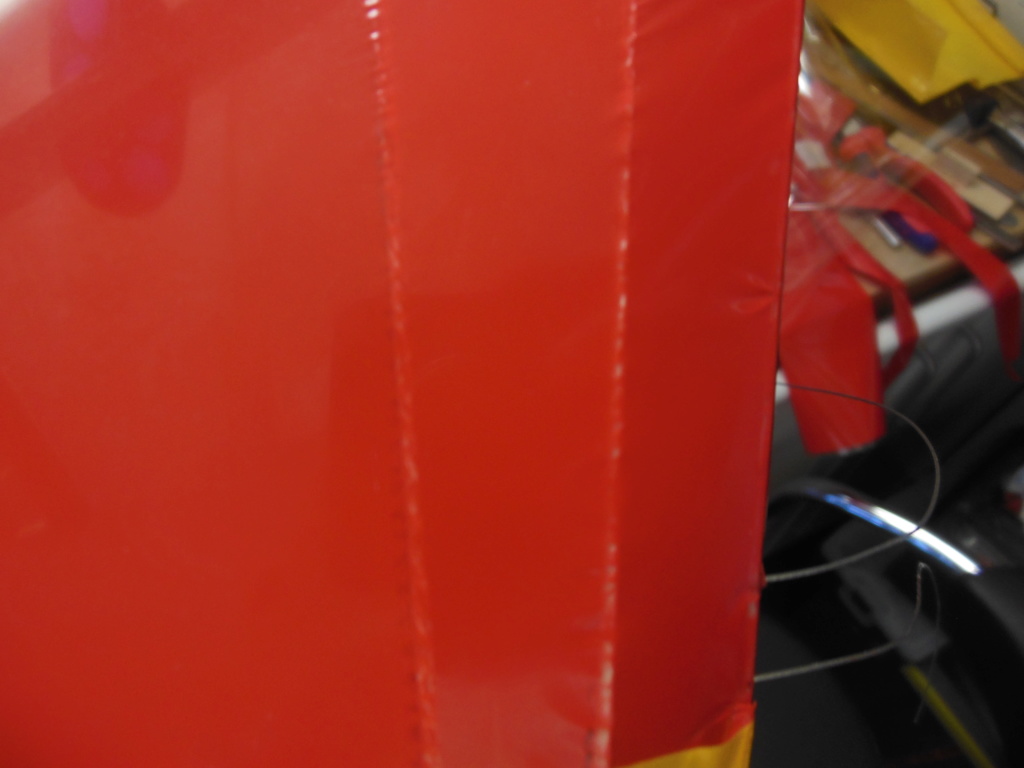
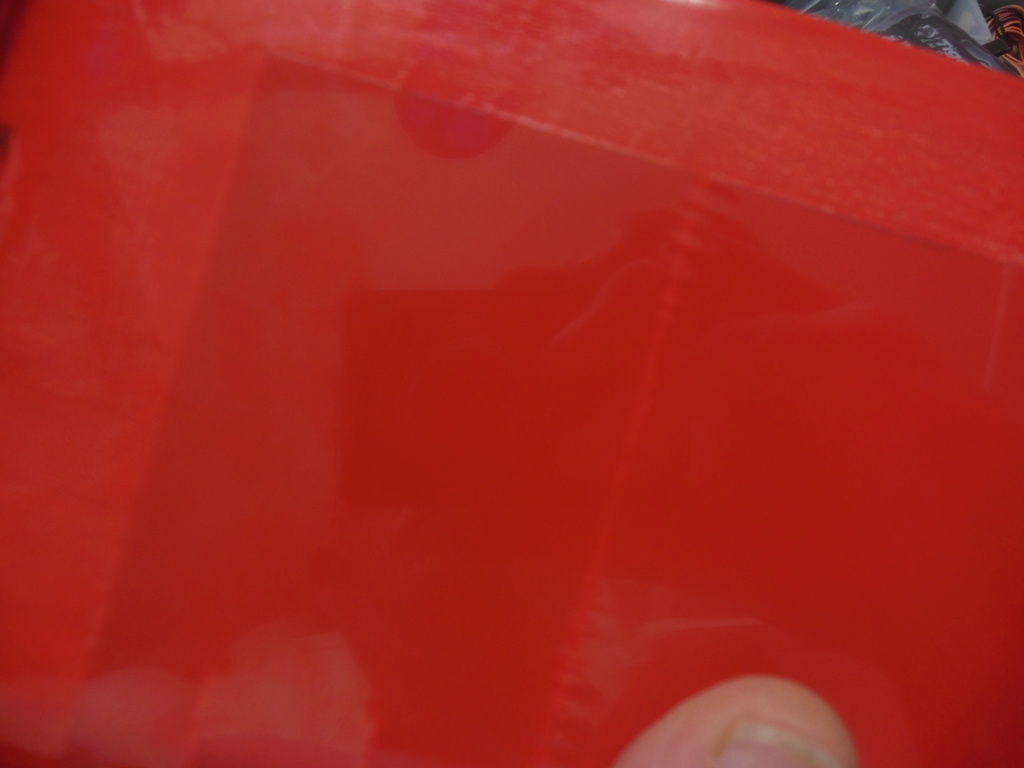
The tips ended up a mess and need recovering.
I cannot recommend Easycote for open bay wings.
I can say that this covered the flaps, tailplane and fuselage with ease. I was very impressed with how easy it was - seams were barely visible.


However, when it came to the wing .................. not impressed at all!!
The Easycote needs a temperature of 100 - 120 deg C to activate the adhesive and 150 deg C to shrink tight.
What is not mentioned is that the adhesive is also the covering colour and it comes off easily. You cannot tack and reposition the material easily. The colour remains stuck to the balsa and the clear material left does not reattach.
I got the covering stuck down on the wing but had difficulty stretching it around the wing tips, When it came to tautening the finish it stuck to the ribs and as it shrank the colouring scraped off.


The tips ended up a mess and need recovering.
I cannot recommend Easycote for open bay wings.

ian1954- Diamond Member

- Posts : 2688
Join date : 2011-11-16
Age : 69
Location : England
 Re: Another build
Wowzers! I think I need one of these. That is one sweet build!
944_Jim- Diamond Member


Posts : 1955
Join date : 2017-02-08
Age : 59
Location : NE MS
 Re: Another build
With lockdown, I switched to other projects - like tidying up and looking for those many bits and pieces that I had put in safe placs. Places so safe, I couldn't remember where they were.
This all started because I was about to make a tank for this and didn't have the right size tubing to hand. While looking for the tubing I came across sheets of tin that I use for tank building in three different boxes. I found various lengths and sizes of aluminium, brass and copper tubing in seven boxes. So I decided to have a sort out - this was the tip of the iceberg.
Anyway, I am still at it along with being reminded of the many "little" jobs I haven't finished off and sidetracked all over the place.
Still, the PAW 100 is almost "run in" now for this plane. I have to say though that this was/is the most finicky PAW engine I have ever experienced. From the get go it was a difficult starter and was not happy with my typical Sport diesel mix. I had to mix a much blander concoction.
Unusually, for a traditional iron piston diesel - it was tight wuith a degree of pinching. It has now had 50 minutes running in but still not ready even though fully heat cycled. This is it on a 7x4 prop.

ian1954- Diamond Member

- Posts : 2688
Join date : 2011-11-16
Age : 69
Location : England
 Re: Another build
Hi Ian, Glad to know that you are well. That diesel sounded good to me! Best of luck when building the fuel tank. 

 Re: Another build
roddie wrote:Hi Ian, Glad to know that you are well. That diesel sounded good to me! Best of luck when building the fuel tank.
Hi Roddie,
Like most of us we are in lockdown but we are still allowed to take the doggies for a walk once a day maintaining social distancing. (the doggies ignore this and socialise freely with their friends!). Not allowed to fly though - it is not considered excercise by those who decide these things.
Most shops are closed (other than food) but I am still able to get non essential items (modelling!) by mail order - so that is situation normal.

ian1954- Diamond Member

- Posts : 2688
Join date : 2011-11-16
Age : 69
Location : England
 Re: Another build
That Engine Run Sounded Really Good. The Plane is looking good too.

akjgardner- Diamond Member


Posts : 1474
Join date : 2014-12-28
Age : 64
Location : Greensberg Indiana
 Re: Another build
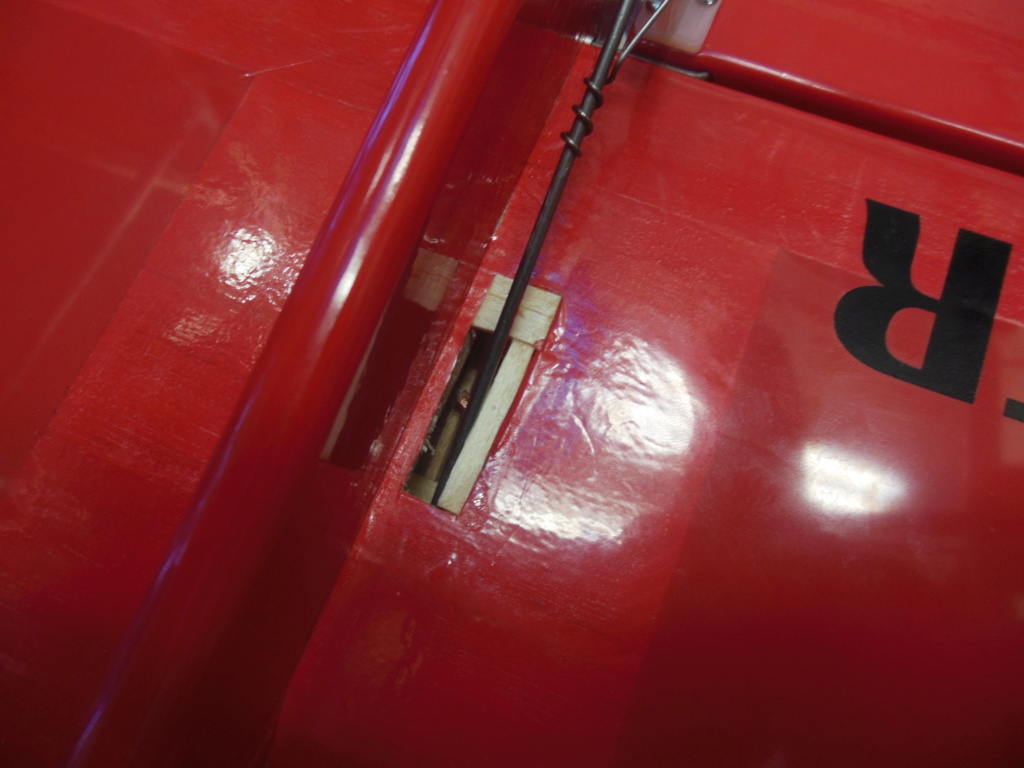
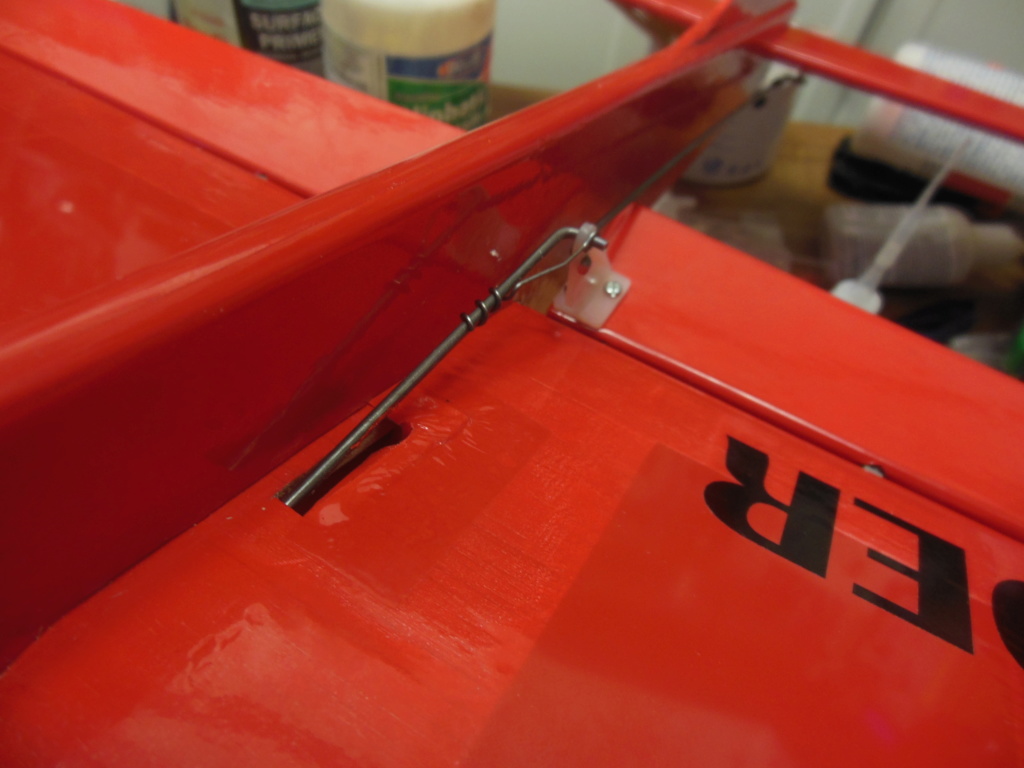
Ya got to hate it when stuff don't fit that should , But You do have a good remedy for that i see  I have to cut the push rod exit on most my builds . The Paw did sound good after getting her going one these days i will run a diesel and get that smell you always talk about . Glad to hear you guys are keeping it together during this Virus . I am lucky to have some land to get out on and roam

getback- Top Poster


Posts : 10141
Join date : 2013-01-18
Age : 66
Location : julian , NC
Page 2 of 2 •  1, 2
1, 2
 Similar topics
» Guillows Cessna 150 build circa 1970 (Build Log)
» My son’s first C/L build
» IAR.80 Build
» Looking for first RC build...
» Help Deciding on Kit
» My son’s first C/L build
» IAR.80 Build
» Looking for first RC build...
» Help Deciding on Kit
Page 2 of 2
Permissions in this forum:
You cannot reply to topics in this forum

 Rules
Rules