

 Rules
Rules
by rdw777 Today at 10:24 am
» **VOTE-ON-THE-NEXT-COX-ENGINE-OF-THE-MONTH** (May 2024)
by GallopingGhostler Today at 7:20 am
» Here we go again... another Lawn-Boy
by rsv1cox Today at 6:50 am
» Norvel Needle Needed
by Greenman38633 Today at 4:02 am
» A prototype Cox Reed-valve marine engine
by roddie Yesterday at 11:51 pm
» My Cox .049 Marine inboard engine
by 1/2A Nut Yesterday at 11:41 pm
» Jim Walker Firebaby
by rsv1cox Yesterday at 7:26 pm
» Roddie-Rigger.. a 2005 original design
by roddie Yesterday at 7:04 pm
» music vids.. some of your favorites
by HalfaDave Yesterday at 6:55 pm
» World's largest weathervane
by Cox International Yesterday at 3:38 pm
» Help Pee Wee tank cap .020
by rdw777 Yesterday at 1:30 pm
» Revivng Some Childhood Classics
by getback Yesterday at 8:21 am


P-38 Lightning-Roddie style..
Page 8 of 9 •  1, 2, 3, 4, 5, 6, 7, 8, 9
 ![]()
lead-outs.. and guides..
![]() roddie Thu Jun 07, 2018 12:59 am
roddie Thu Jun 07, 2018 12:59 am
To re-cap; this model is my own design, therefore.. the "moment-arms" aren't proven. So far; the U-Control/profile-structure seems to be good.. for a 1/2A model.
I want to fly this airplane.. but I need to be patient.. and get some "air-time" with other models that I have flown before. It's been too long since I've flown; to risk a maiden with an un-proven design.
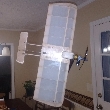
My "wingtips" continue to be a problem with breaking-off..
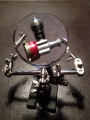
Here's some photos of how I did the lead-outs.. and guides. I'd been wanting to get this done.. but have been very busy working at a new job.


She looks pretty good; hanging from her lead-outs; a slight "nose-out" attitude.

As previously mentioned.. both wing-tips need to be reattached..


roddie- Top Poster

- Posts : 8301
Join date : 2013-07-17
Age : 64
Location : N. Smithfield, Rhode Island -

Re: P-38 Lightning-Roddie style..
![]() balogh Thu Jun 07, 2018 1:08 am
balogh Thu Jun 07, 2018 1:08 am
As for the wing tips I would reinforce them by gluing a flat carbon strip along the "spar" or 2 along the leading and traveling edges both. Flat enough not to bother the aerodynamics, the carbon strip would definitely make the tips stronger and resist snapping.
balogh- Top Poster


Posts : 4751
Join date : 2011-11-06
Age : 65
Location : Budapest Hungary
Re: P-38 Lightning-Roddie style..
![]() roddie Thu Jun 07, 2018 2:07 am
roddie Thu Jun 07, 2018 2:07 am
balogh wrote:Roddie the plane is very nice.
As for the wing tips I would reinforce them by gluing a flat carbon strip along the "spar" or 2 along the leading and traveling edges both. Flat enough not to bother the aerodynamics, the carbon strip would definitely make the tips stronger and resist snapping.
Thank You for the "tip" Andras!!! I will reattach the wingtips with some sort of thin over-lapping reinforcement material.. possibly "carbon-veil". So far; cyanoacrylate just keeps breaking-off at the joint.
roddie- Top Poster
- Posts : 8301
Join date : 2013-07-17
Age : 64
Location : N. Smithfield, Rhode Island -
Re: P-38 Lightning-Roddie style..
![]() balogh Thu Jun 07, 2018 2:10 am
balogh Thu Jun 07, 2018 2:10 am
balogh- Top Poster
-
Posts : 4751
Join date : 2011-11-06
Age : 65
Location : Budapest Hungary
Re: P-38 Lightning-Roddie style..
![]() rsv1cox Thu Jun 07, 2018 6:50 am
rsv1cox Thu Jun 07, 2018 6:50 am
Just fly the thing. It's only balsa.
In the best possible spirit.............
Bob
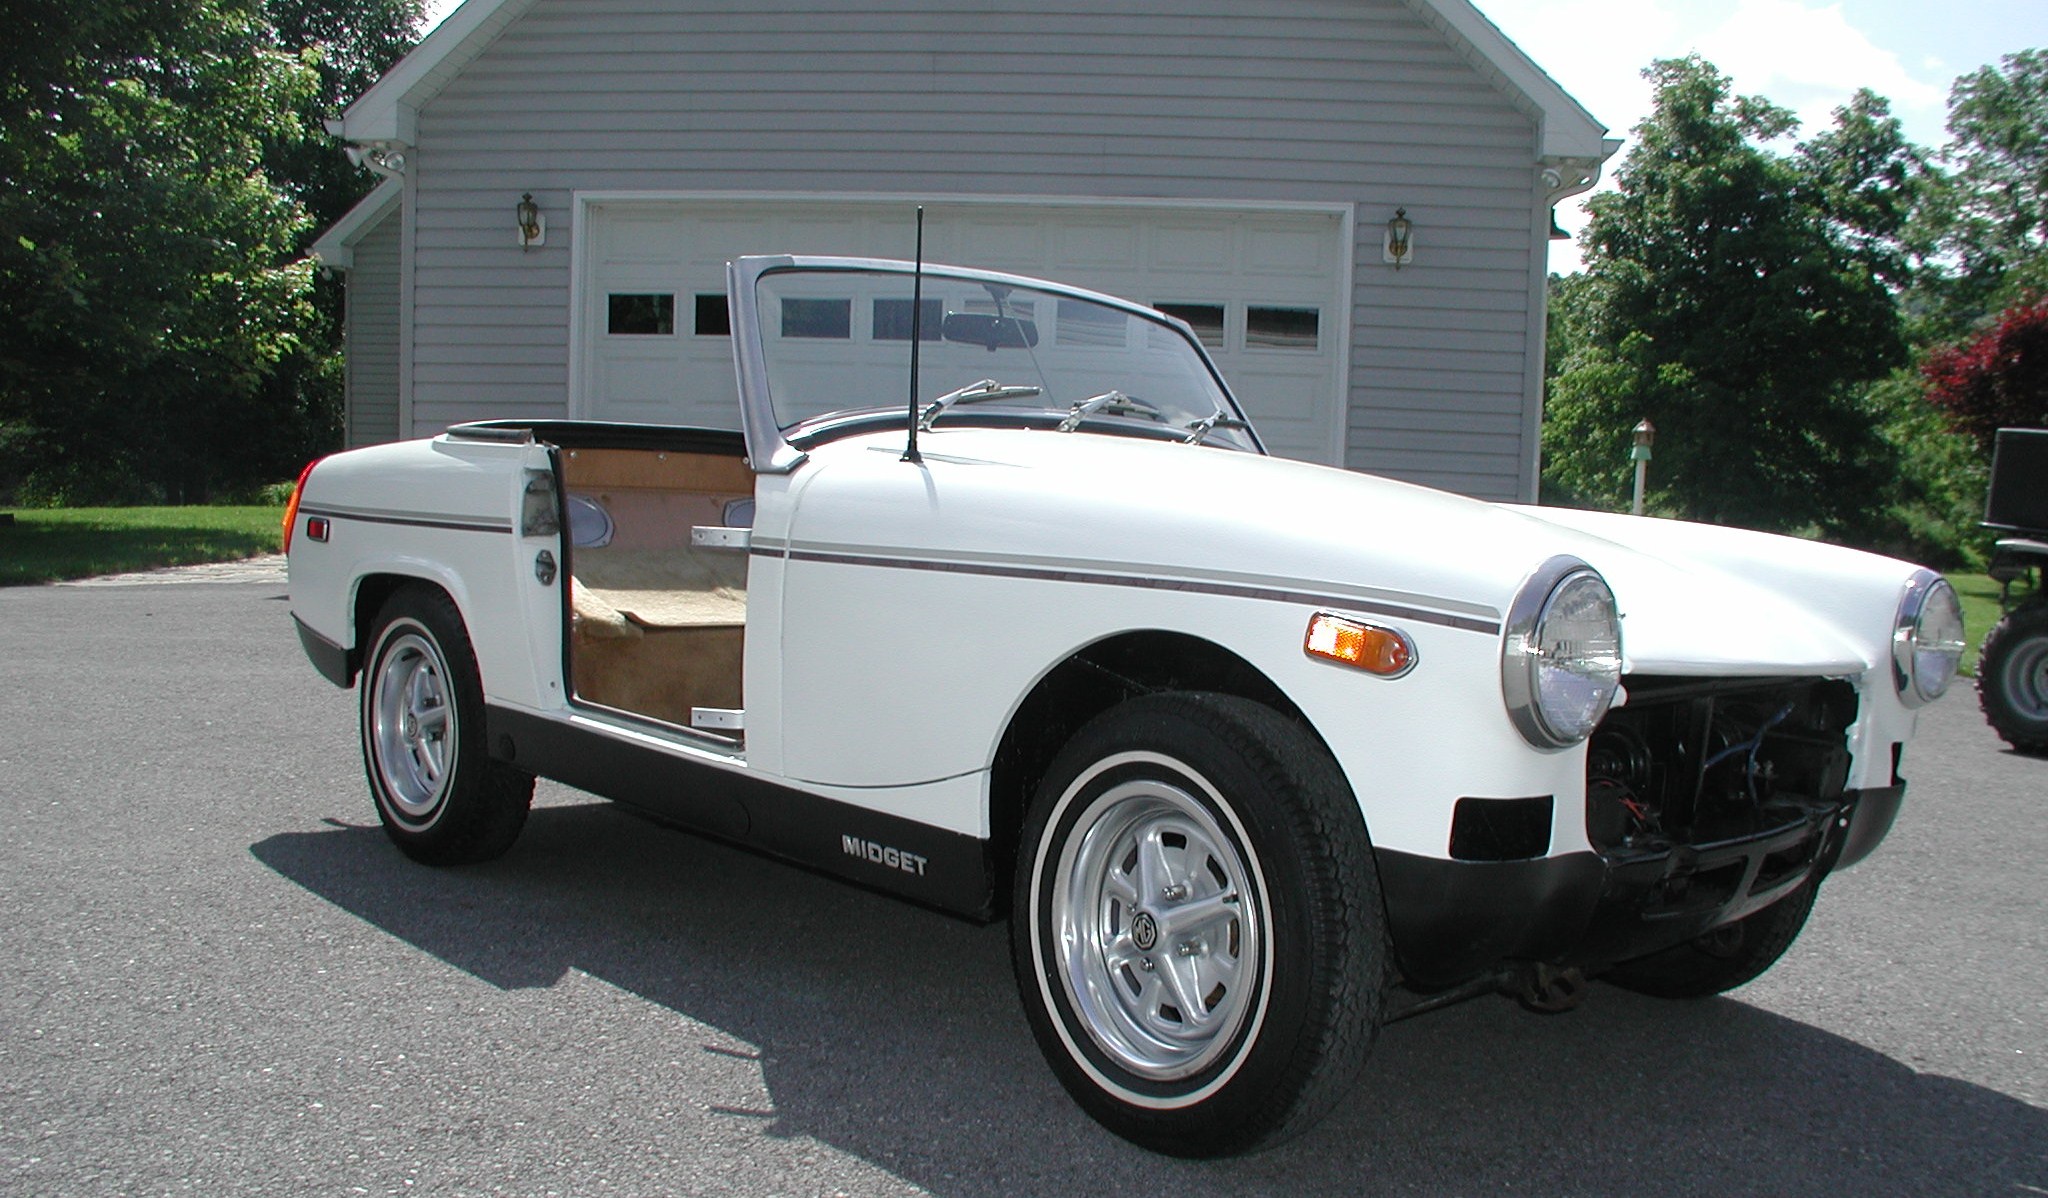
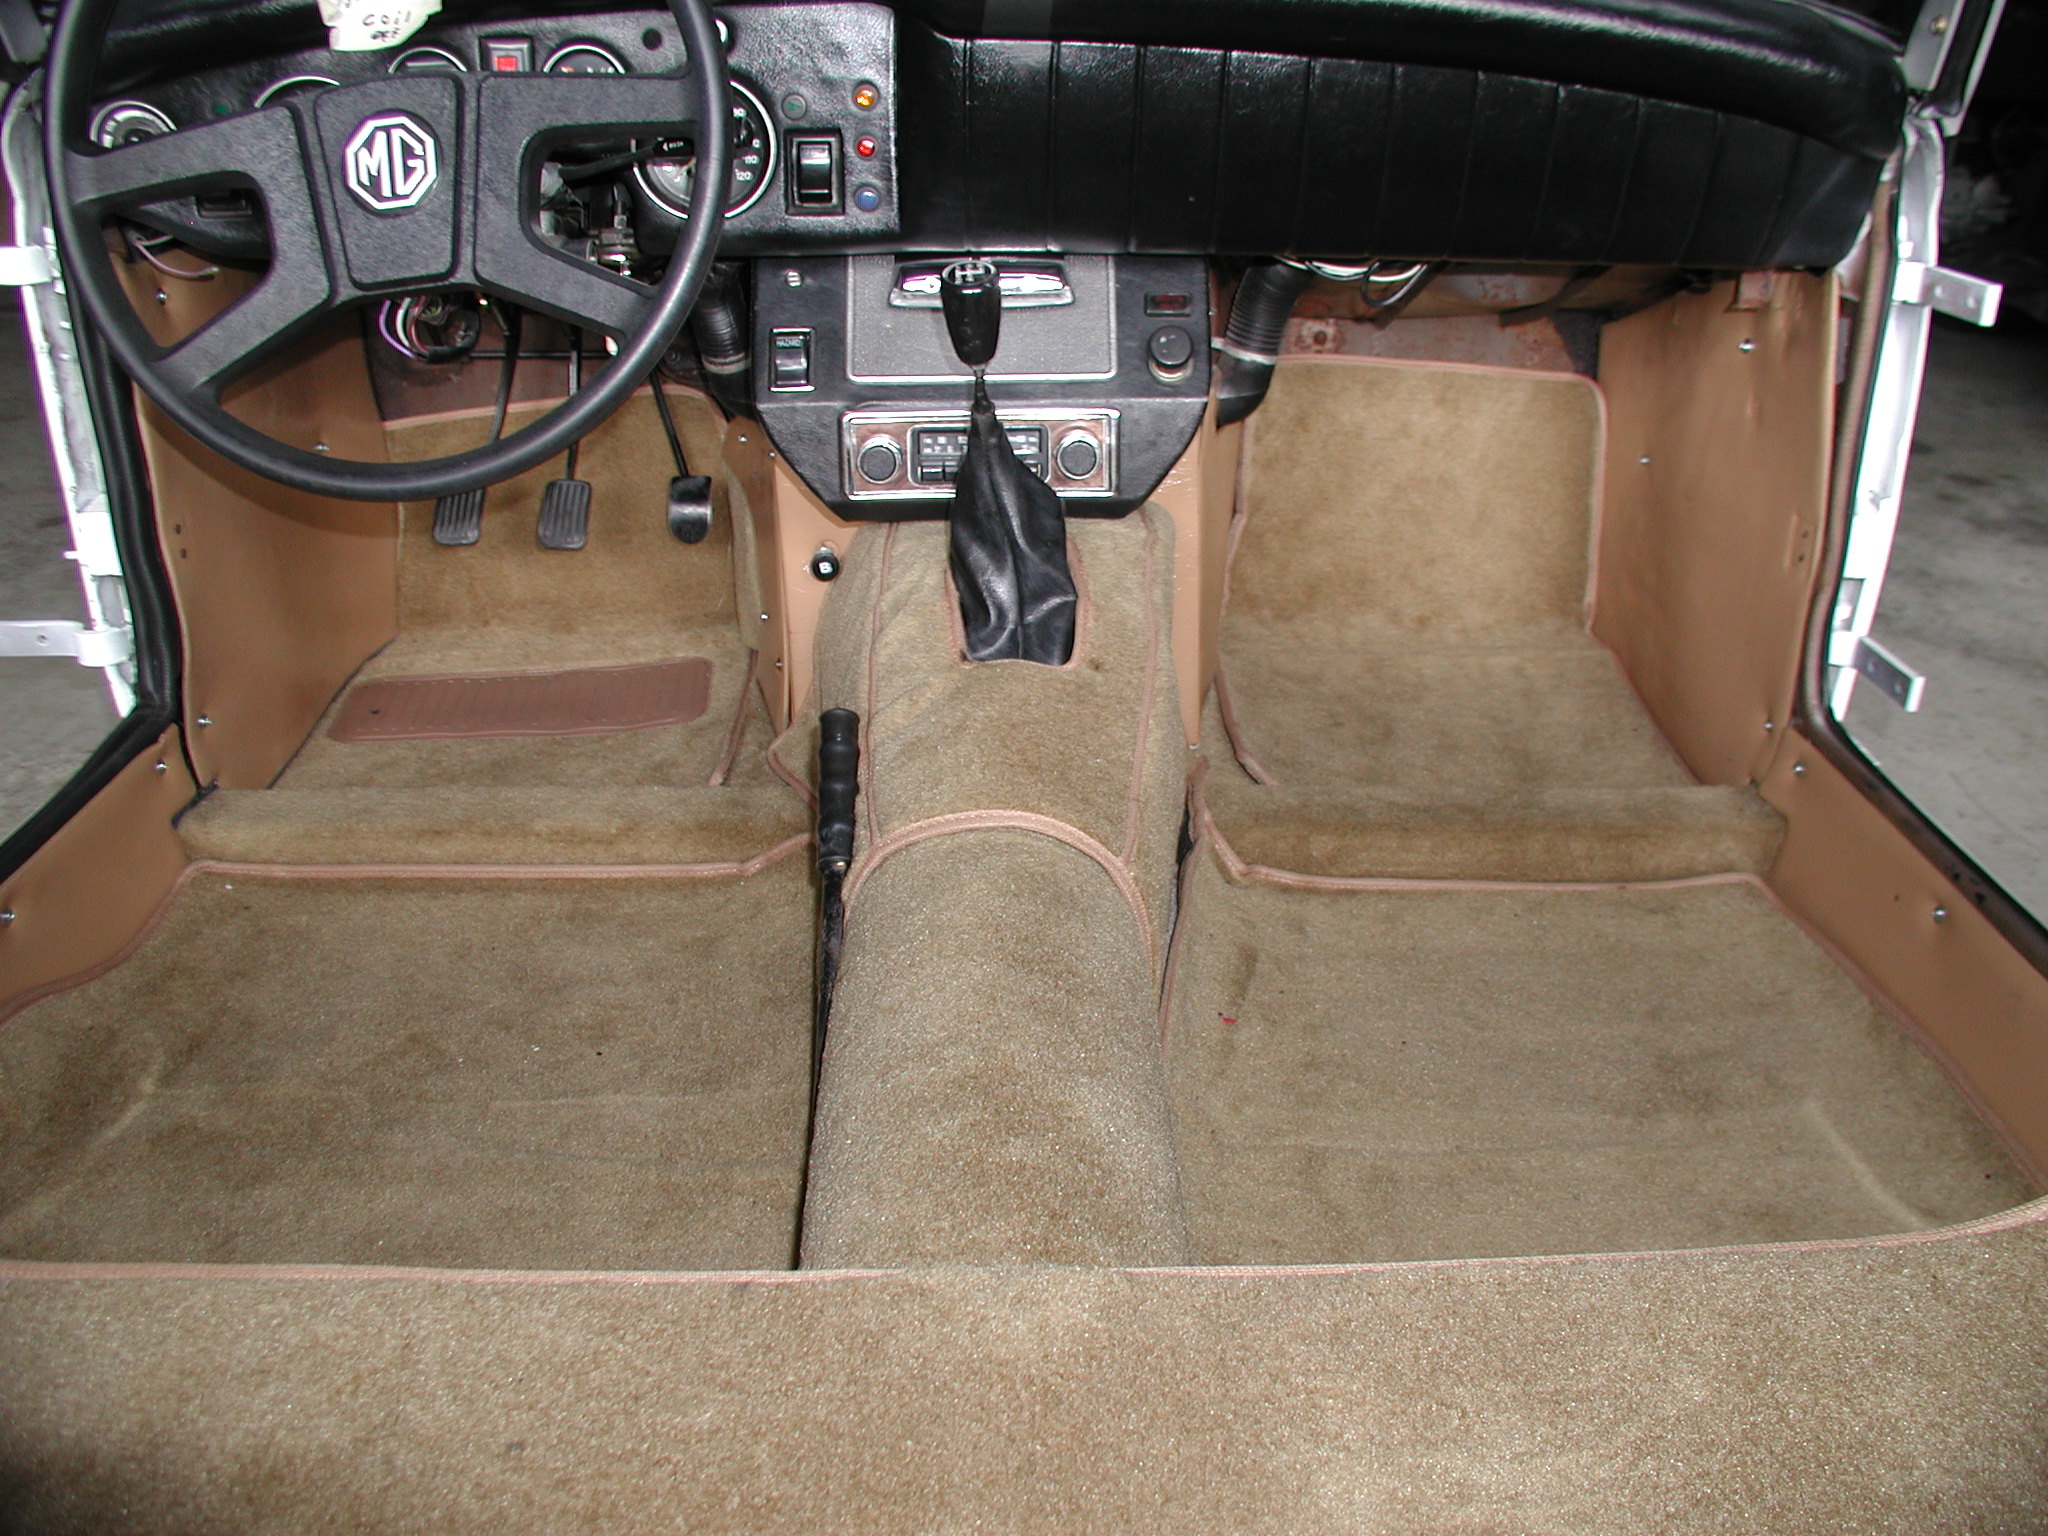
PS - Same for my MG, many agonizing hours spent. Not for looking. When I'm finished I going to drive the crap out of it.


rsv1cox- Top Poster
-
Posts : 10609
Join date : 2014-08-18
Location : West Virginia
Re: P-38 Lightning-Roddie style..
![]() JPvelo Thu Jun 07, 2018 7:42 am
JPvelo Thu Jun 07, 2018 7:42 am
Make new tips.
Attach with epoxy.
Go fly airplane.

JPvelo- Diamond Member

- Posts : 1972
Join date : 2011-12-02
Age : 56
Location : Colorado
Re: P-38 Lightning-Roddie style..
![]() KariFS Thu Jun 07, 2018 8:50 am
KariFS Thu Jun 07, 2018 8:50 am
KariFS- Diamond Member
- Posts : 2004
Join date : 2014-10-10
Age : 52
Re: P-38 Lightning-Roddie style..
![]() JPvelo Thu Jun 07, 2018 10:27 am
JPvelo Thu Jun 07, 2018 10:27 am
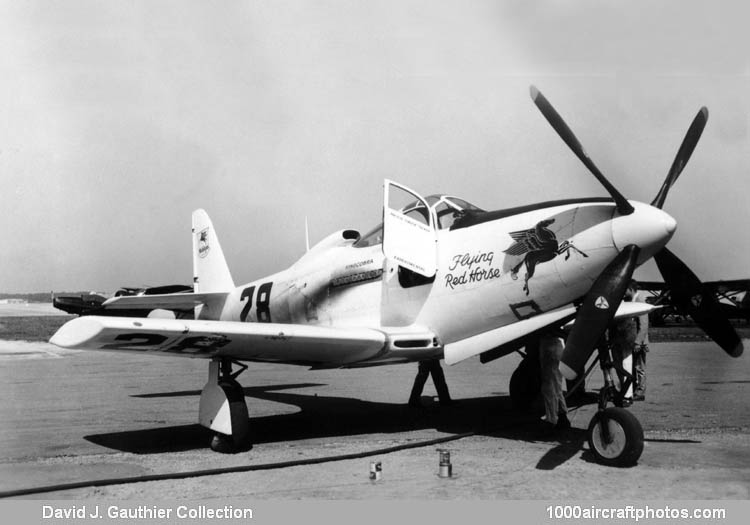
KariFS wrote:... or leave the tips off completely. Some racer Warbirds had clipped wings for greater speed:
I was going to suggest that as well. Whatever you do get that thing in the air!!!
JPvelo- Diamond Member
- Posts : 1972
Join date : 2011-12-02
Age : 56
Location : Colorado
Threadjack by the British Invasion crew
![]() 944_Jim Thu Jun 07, 2018 11:45 am
944_Jim Thu Jun 07, 2018 11:45 am
It is your plane. I find when I get stuck in details, sometimes a quick shakedown run clears the head.
Wings can get cleaned and fixed.
Fly it on your terms.
Sometimes you gotta run ugly so you don't sit still pretty.
We are all standing behind you...even if we seem pushy.

944_Jim- Diamond Member
-
Posts : 1955
Join date : 2017-02-08
Age : 59
Location : NE MS
Re: P-38 Lightning-Roddie style..
![]() rsv1cox Thu Jun 07, 2018 12:29 pm
rsv1cox Thu Jun 07, 2018 12:29 pm
Kidding a bit roddie. Different strokes for different folks.
Bob
rsv1cox- Top Poster
-
Posts : 10609
Join date : 2014-08-18
Location : West Virginia
Re: P-38 Lightning-Roddie style..
![]() getback Fri Jun 08, 2018 1:31 am
getback Fri Jun 08, 2018 1:31 am

getback- Top Poster
-
Posts : 10141
Join date : 2013-01-18
Age : 66
Location : julian , NC
Re: P-38 Lightning-Roddie style..
![]() roddie Fri Jun 08, 2018 8:53 am
roddie Fri Jun 08, 2018 8:53 am
(Sorry for the blurry image.. it's in tune with the night I did the work.

There's a risk of the crimp-tubes snagging on the wingtip.. once it's glued back on.
I'm keeping the wingtips on the model. I like the contour.. and also want to keep the span at 26" (1/2" scale)
roddie- Top Poster
- Posts : 8301
Join date : 2013-07-17
Age : 64
Location : N. Smithfield, Rhode Island -
Re: P-38 Lightning-Roddie style..
![]() KariFS Fri Jun 08, 2018 10:24 am
KariFS Fri Jun 08, 2018 10:24 am
KariFS- Diamond Member
- Posts : 2004
Join date : 2014-10-10
Age : 52
Re: P-38 Lightning-Roddie style..
![]() 944_Jim Fri Jun 08, 2018 2:32 pm
944_Jim Fri Jun 08, 2018 2:32 pm
roddie wrote:I'm going to "redo" the lead-outs. I made the terminations...
Hi Roddie,
Are you using brass tubing for your crimps?
I just got back from Hobby Lobby. Their 3-pack of copper tube had two sizes I can use, and one I have no use for.
Their 4-pack of really small diameter brass is the size I wanted for crimping lines...but it is brass.
I saw only one online reference saying brass was useable. All other sites mentioned copper, aluminum, or "soft metal tube."
Thanks in advance!
944_Jim- Diamond Member
-
Posts : 1955
Join date : 2017-02-08
Age : 59
Location : NE MS
Re: P-38 Lightning-Roddie style..
![]() Ken Cook Fri Jun 08, 2018 3:11 pm
Ken Cook Fri Jun 08, 2018 3:11 pm
I pulled this crimp last evening to indicate slippage but the line broke prior.
Not sure why the pic didn't post, I will try again later
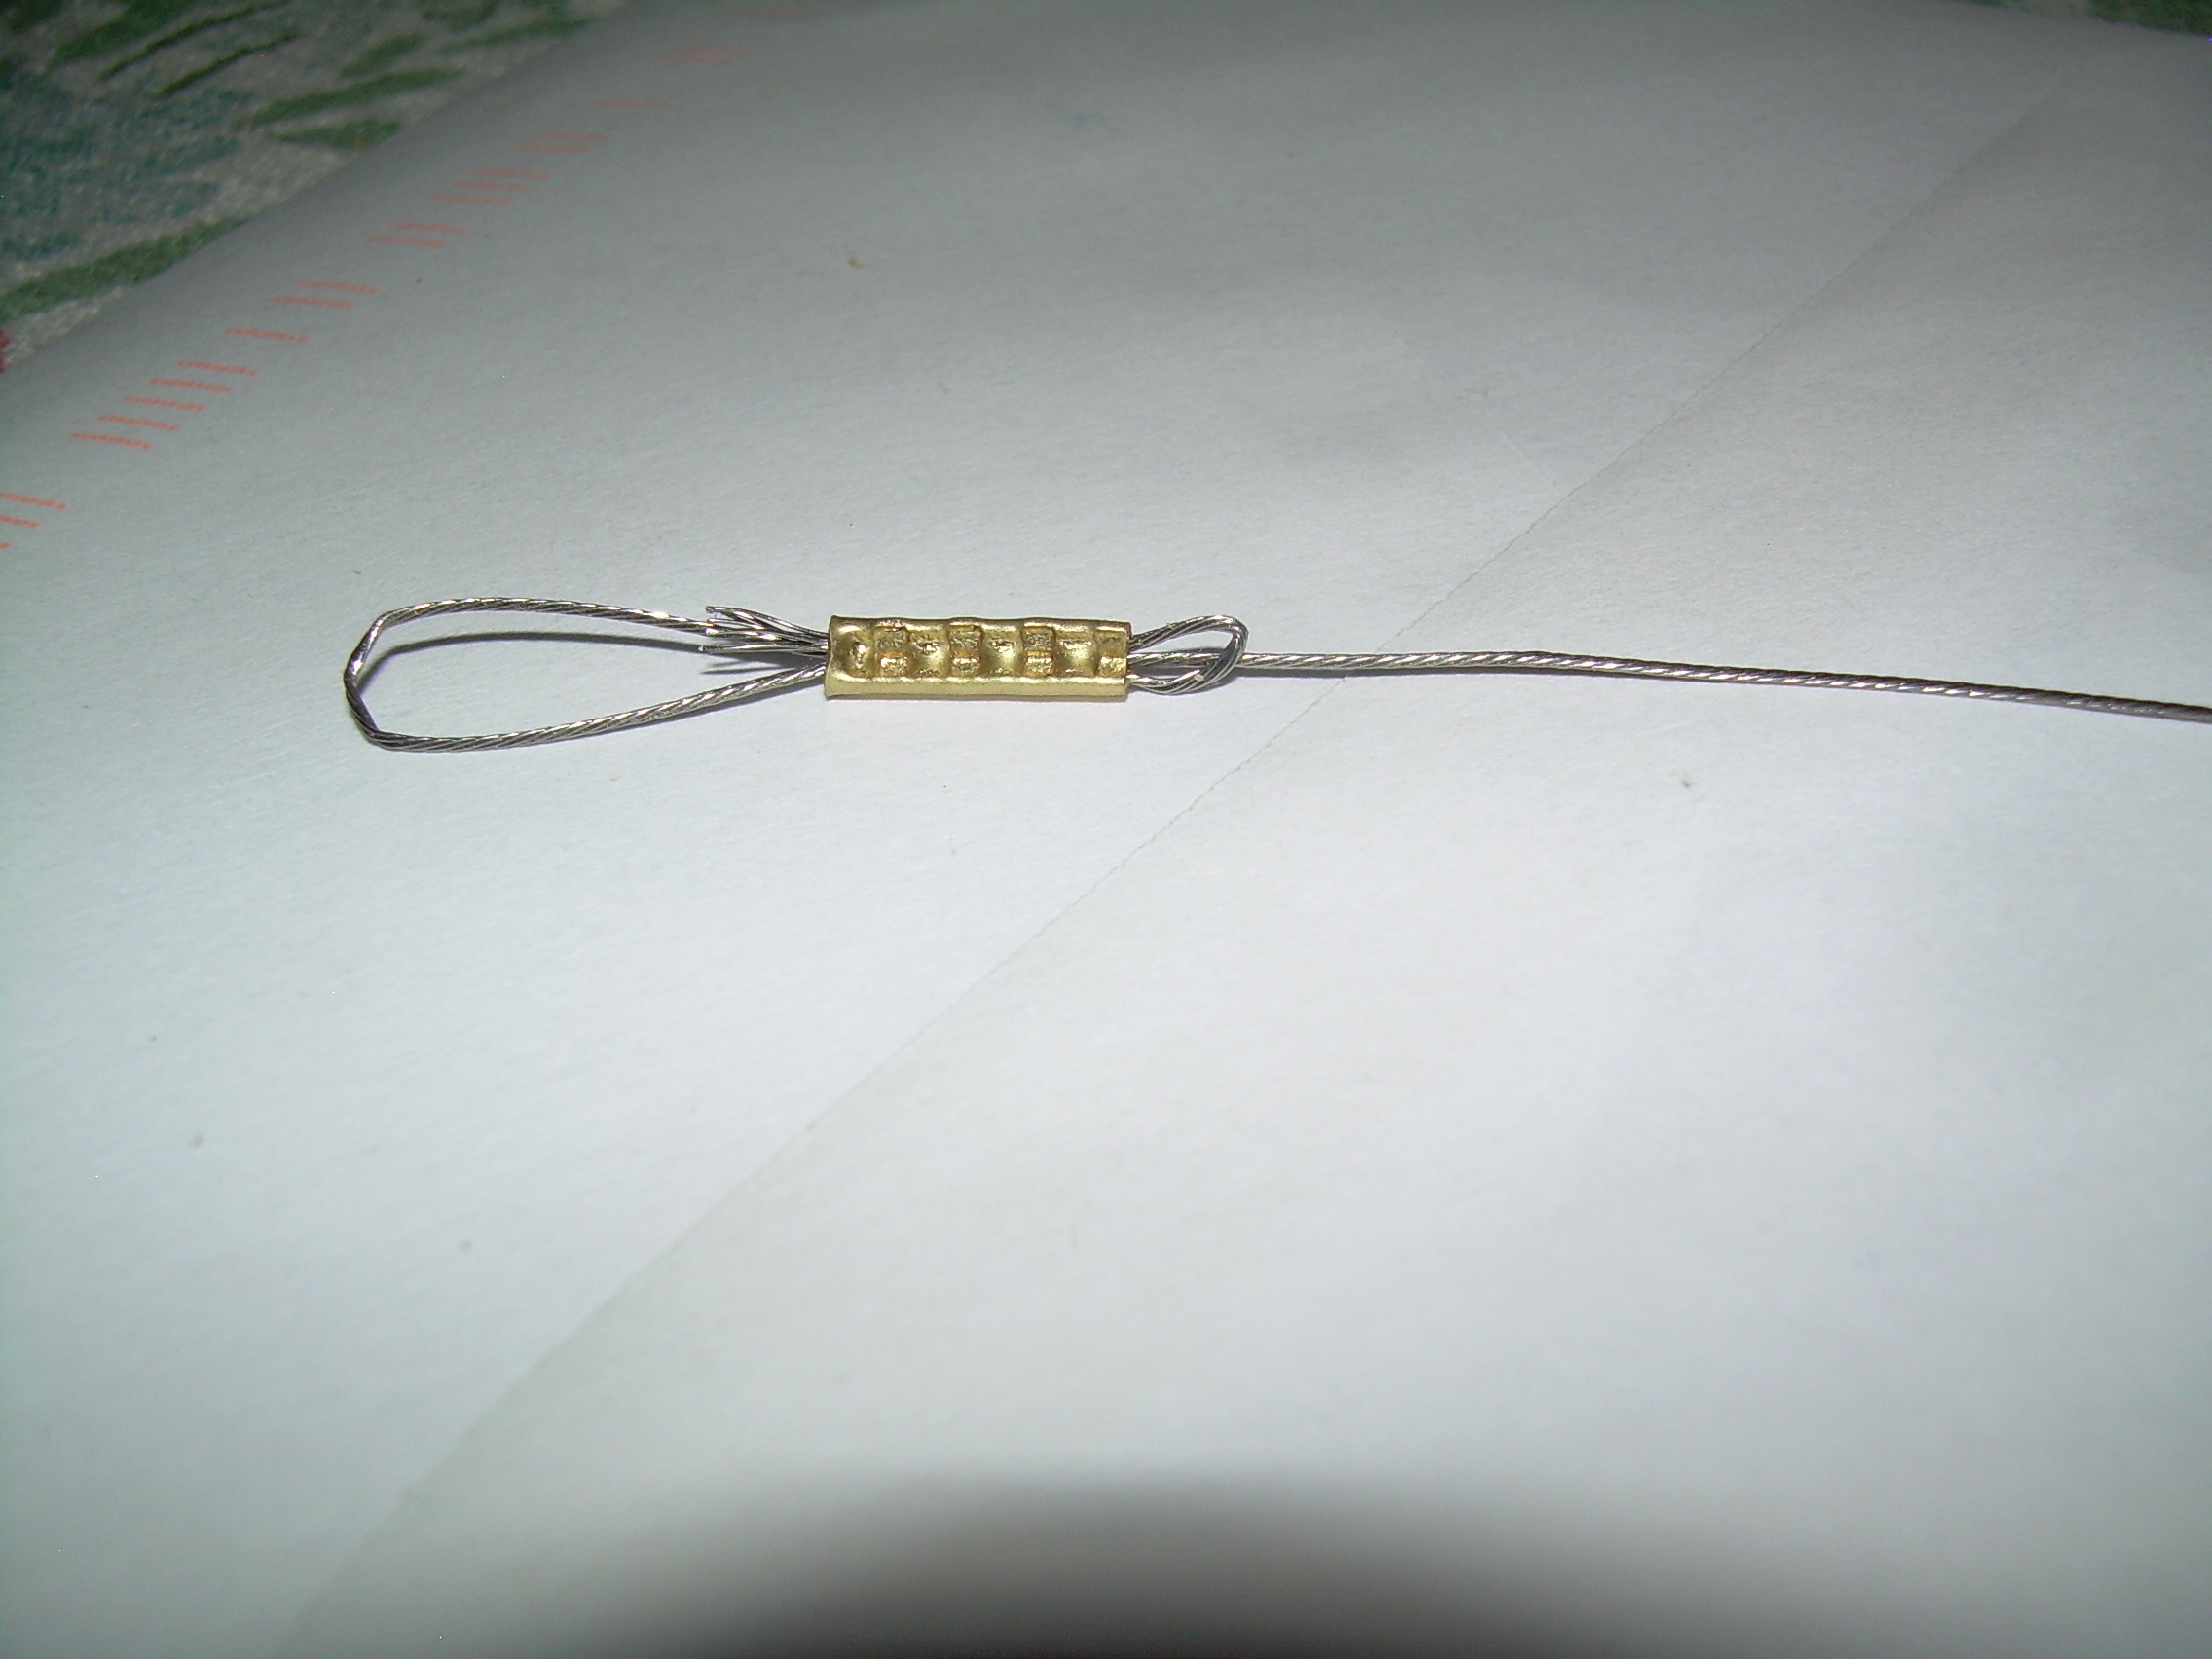
This was a experimental test here as I don't leave the frayed wire or the looped tag out of the back of the crimp tube. I found that if I used the brass, I had to anneal it first in order to prevent cracking. These new crimpers support the looped wire on the sides of the tube vs crushing them. This is why crimps are generally not preffered due to the fact the wire is damaged internally.
Last edited by Ken Cook on Sat Jun 09, 2018 7:48 am; edited 2 times in total

Ken Cook- Top Poster
- Posts : 5478
Join date : 2012-03-27
Location : pennsylvania
Re: P-38 Lightning-Roddie style..
![]() 944_Jim Fri Jun 08, 2018 5:22 pm
944_Jim Fri Jun 08, 2018 5:22 pm
I'm trying to make up a couple of sets of lines.
27, 30, 32, 35, 40, 42, 45, for 1/2A models, and 50. All of them but the 50' will be .008" stranded.
My 50' will be a set of .015"x60' cut down for my BHM Mosquito. I think I'll be wrapping that set.
Last edited by 944_Jim on Fri Jun 08, 2018 5:29 pm; edited 2 times in total (Reason for editing : Remove a goober)
944_Jim- Diamond Member
-
Posts : 1955
Join date : 2017-02-08
Age : 59
Location : NE MS
Re: P-38 Lightning-Roddie style..
![]() Ken Cook Fri Jun 08, 2018 7:17 pm
Ken Cook Fri Jun 08, 2018 7:17 pm
Ken Cook- Top Poster
- Posts : 5478
Join date : 2012-03-27
Location : pennsylvania
lead-out re-do..
![]() roddie Fri Jun 08, 2018 9:46 pm
roddie Fri Jun 08, 2018 9:46 pm
I found an unopened package of K & S copper-tube 3/32" x 12"L x 3 pieces.. that I didn't realize I had. I cut a pair of 24" length .015" 7-strand stainless cables.. and "re-did" the connections at the bellcrank.. and will post some photos when the image-server is back on-line. Until then; I need to get those wingtips straightened-out..
roddie- Top Poster
- Posts : 8301
Join date : 2013-07-17
Age : 64
Location : N. Smithfield, Rhode Island -
Re: P-38 Lightning-Roddie style..
![]() roddie Sat Jun 09, 2018 8:49 am
roddie Sat Jun 09, 2018 8:49 am


roddie- Top Poster
- Posts : 8301
Join date : 2013-07-17
Age : 64
Location : N. Smithfield, Rhode Island -
Re: P-38 Lightning-Roddie style..
![]() 944_Jim Sat Jun 09, 2018 9:49 am
944_Jim Sat Jun 09, 2018 9:49 am
Where did you source the tubing?
$2 for the bundle is too good a deal to pass up. I'm finding it closer to $5 plus S&H...that makes it closer to $5/stick!
That bellcrank/elevator pushrod end keeper, is it Homebrew or commercial?
It looks like an easier method than bending cleanly, or soldering.
Thanks in advance.
Last edited by 944_Jim on Sat Jun 09, 2018 3:00 pm; edited 1 time in total
944_Jim- Diamond Member
-
Posts : 1955
Join date : 2017-02-08
Age : 59
Location : NE MS
Re: P-38 Lightning-Roddie style..
![]() roddie Sat Jun 09, 2018 1:36 pm
roddie Sat Jun 09, 2018 1:36 pm
944_Jim wrote:Roddie,
Where did you source the tubing?
$2 for the bundle is too good a deal to pass up. I'm finding it closer to $5 plus S&H...that makes it closer to $5/stick!
That bellcrank end keeper, is it Homebrew or commercial?
It looks like an easier method than bending cleanly, or soldering.
Thanks in advance.
Hi Jim, The K & S 3/32" copper tubing came from a LHS that closed in 2014. A lot of the prices on items were outdated.

The "keepers" on my pushrod (both ends..) are 1/2A spring-style wheel retainers. Cox International had some NOS packages a while back. Sig used to stock them.. but no more. The thing is; you must use 1/16" (.062") music-wire for the pushrod. The "L-bends" really simplify the whole thing.
roddie- Top Poster
- Posts : 8301
Join date : 2013-07-17
Age : 64
Location : N. Smithfield, Rhode Island -
Re: P-38 Lightning-Roddie style..
![]() Ken Cook Sat Jun 09, 2018 1:53 pm
Ken Cook Sat Jun 09, 2018 1:53 pm
Send a inquiry to Becky Van Dee becky@sigmfg.com with this part listing I posted.
Ken Cook- Top Poster
- Posts : 5478
Join date : 2012-03-27
Location : pennsylvania
Re: P-38 Lightning-Roddie style..
![]() roddie Sun Jun 10, 2018 2:54 pm
roddie Sun Jun 10, 2018 2:54 pm
Ken Cook wrote: Roddie seeing how you like those so much, I would give them a call. I know they're still made. I looked this up before and they don't list in a search but they did have them SIG SH121... 1/2A WHEEL RETAINERS 1/16
Send a inquiry to Becky Van Dee becky@sigmfg.com with this part listing I posted.
Many thanks Ken! Yes.. I use this simple part for many applications.
roddie- Top Poster
- Posts : 8301
Join date : 2013-07-17
Age : 64
Location : N. Smithfield, Rhode Island -
wingtip bracing
![]() roddie Thu Jun 14, 2018 10:05 pm
roddie Thu Jun 14, 2018 10:05 pm
The balsa pieces were all edge-glued to the basswood with CA.. but as previously mentioned; the "wingtips" have broken-off during handling (more than once..) with discouraging ease. I'd "braced" the tips (top/bottom) with 1/64" plywood strips in anticipation of a problem.. but should have made the tips with their wood-grain running span-wise.. rather than chord-wise.


So.. I re-glued the joints once-more.. and decided to try an experimental "skin-graft" using strips of "used" laundry fabric-softener (dryer) sheets.. saturated with thin CA glue.

Sanding to a semi-smooth substrate went quick and easy.

I applied vinyl spackling.. and feather-sanded once it had dried.

I won't fuss too much more with imperfections and little surface-dings. The wingtips need to be re-primed/painted, followed by a "misting" of rattle-can clear polyurethane over the entire model.
We're still under 11oz. which isn't too bad for a U-control 1/2A twin.

roddie- Top Poster
- Posts : 8301
Join date : 2013-07-17
Age : 64
Location : N. Smithfield, Rhode Island -
Re: P-38 Lightning-Roddie style..
![]() Marleysky Thu Jun 14, 2018 10:45 pm
Marleysky Thu Jun 14, 2018 10:45 pm
 or stripes or flags or a Cox sticker on it. Go, go, go for it!
Marleysky- Top Poster
-
Posts : 3618
Join date : 2014-09-28
Age : 71
Location : Grand Rapids, MI
Page 8 of 9 • 1, 2, 3, 4, 5, 6, 7, 8, 9 ![]()
» Wen Mac P-38's
» 1:64 scale Diecast (Hot Wheels)
» The P-38 Lightning Wow factor
» AeroFred Tunder Lightning